A gluten-free sourdough starter is required if you are interested in making a gluten-free sourdough loaf at home. The process for baking a gluten-free sourdough loaf is essentially the same as a conventional loaf. You will just need to swap out wheat flour for some gluten-free grain flours. A gluten-free sourdough starter can be made with brown rice flour or sorghum flour. It many be possible to use other gluten-free flours but I have not personally tested any others.
What is a Sourdough Starter?
A sourdough starter culture is a combination of water, flour, and warmth which creates the perfect environment for yeast and beneficial bacteria (lactobacillus) to grow. Once established, the culture of yeast and bacteria will need routine “feedings” to stay alive. I keep mine in a jar in the refrigerator and feed it periodically. As the yeast and bacteria feed on flour it converts sugars and starches into acetic acid also produces carbon dioxide gas. When it is fed, a sourdough starter will create air bubbles and grow in size. When the starter is used in a bread recipe if continues to feed on the starches in the recipe to ferment and rise.
Can you make a paleo sourdough starter?
If you are wondering if you can make a paleo sourdough loaf, unfortunately that is not possible. Paleo baking requires nut flour and coconut flour. These flours don't contain enough starch to create the fermentation needed for the bread to rise. Although not paleo, gluten-free sourdough bread is lower in carbohydrates due to the fermentation process.
What ingredients do I need to make a sourdough starter?
There are only two required ingredients to make a gluten-free sourdough starter. The two ingredients are flour and water – that's it. Although not required, there is a third ingredient I use when starting this process from scratch because I've gotten better results. You may be surprised that the third ingredient is an organic apple. Adding an apple helps inoculate the mixture with beneficial bacteria and wild yeasts.
Ingredients and supplies:
- Organic Gluten-free flour – brown rice flour or sorghum flour.
- One organic apple
- Filtered water
- Glass container
- Chalk marker or rubber band
How to Make Gluten-free Sourdough Starter
Day One
- In a large clean mixing bowl, combine 1 cup of brown flour and 1 cup of lukewarm filtered water. Whisk thoroughly.
- Wash and grate the apple, keeping the skin on and mix into the flour and water.
- Transfer the mixture into a glass jar with a lid. Push down the wet dough to remove any air pockets and use a silicone spatula to clean up the sides of the jar.
- Use a chalk marker or rubber band to mark the top of the flour mixture so you can easily see how much it grows.
- Lastly, put the container in a warm location and let it sit for 72 hours. Ideal temperature is 70-75 degrees. Colder temperatures will make it harder to ferment and increase the changes of mold.
Ways to keep the starter warm:
- Keep it in the oven with the oven off and the light on.
- Use the “proof” setting on your oven
- Wrap in a towel and keep in a warm corner
Day Four
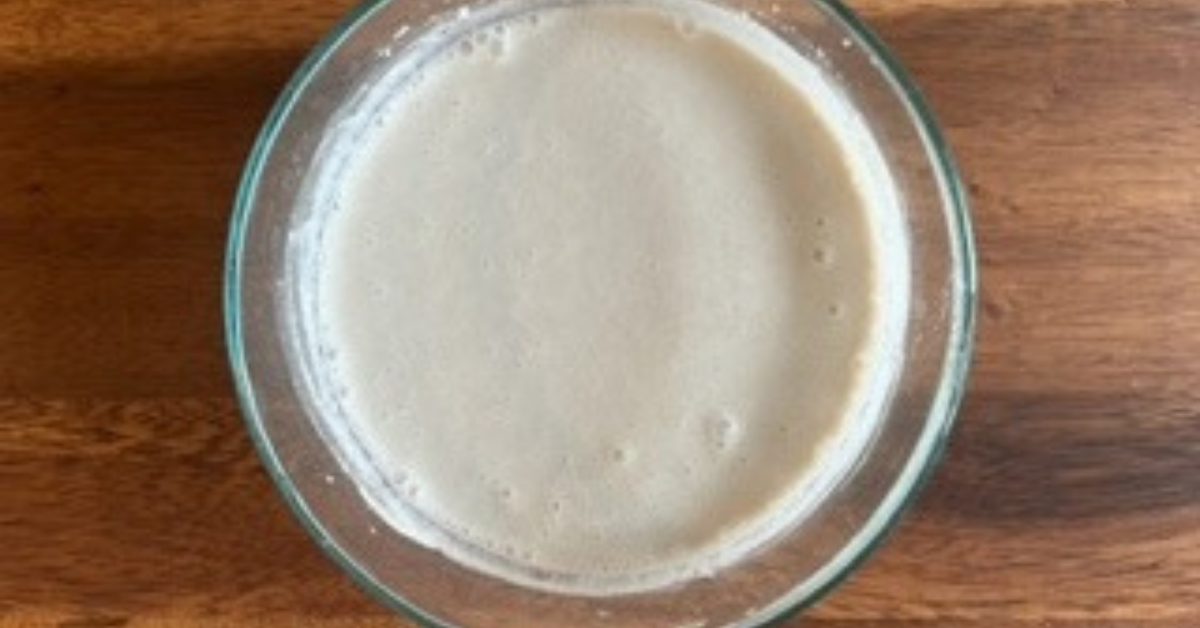
During the last three days, your starter should have started to get active, bubbly, and rise. It will also smell a little fermented. Now it is time to feed your starter. First, you will need to discard a portion of it, and then add fresh flour and water. I know it seems counter productive to discard a portion of it but you can still use it in other recipes.
Feeding the Starter:
- First, open the lid and stir the starter with a clean utensil.
- Next, remove and discard about half of the volume of starter in the container. To avoid waste, place it in a container to use later in other recipes.
- Now add 1/2 cup brown rice flour and 1/2 cup water to the mix. Stir thoroughly to combine.
- Clean up the sides of the container as needed so you can monitor the rise.
- Put the container back into a warm location and let it sit for 48 hours.
Day Six
Now your will repeat the same discard and feed process that you did previously.
- Stir it first, discard half, and add more fresh flour and water like we did in the previous step.
- Now, let your starter sit for 24 hours. It should rise and fall within this time frame.
Day Seven
At this point your starter should be ready to use in recipes. If you have noticed it rising and falling throughout this process, that's good! You should also notice lots of bubbles and a fermented smell.
Ongoing Care and Storage
Your new starter will need periodic feedings. It can be stored in a glass jar in the fridge. When you want to bake with it, take out a portion and feed it with equal portions of flour/water mixture to use in a recipe. Then add the same amount of flour/water to the jar and put it back in the fridge for next time.
Thank you for reading,
Roxanne
Don't forget to subscribe to stay in the loop. If you are looking for some of the healthy tools and resources mentioned in my articles, take a look at my healthy shopping guide.
Some of our links are affiliate links, which means if you click and buy, I earn a small commission. The price is the same for you, though. Thank you!