
-
How to Make Orange Peel Powder
Category: Herbalism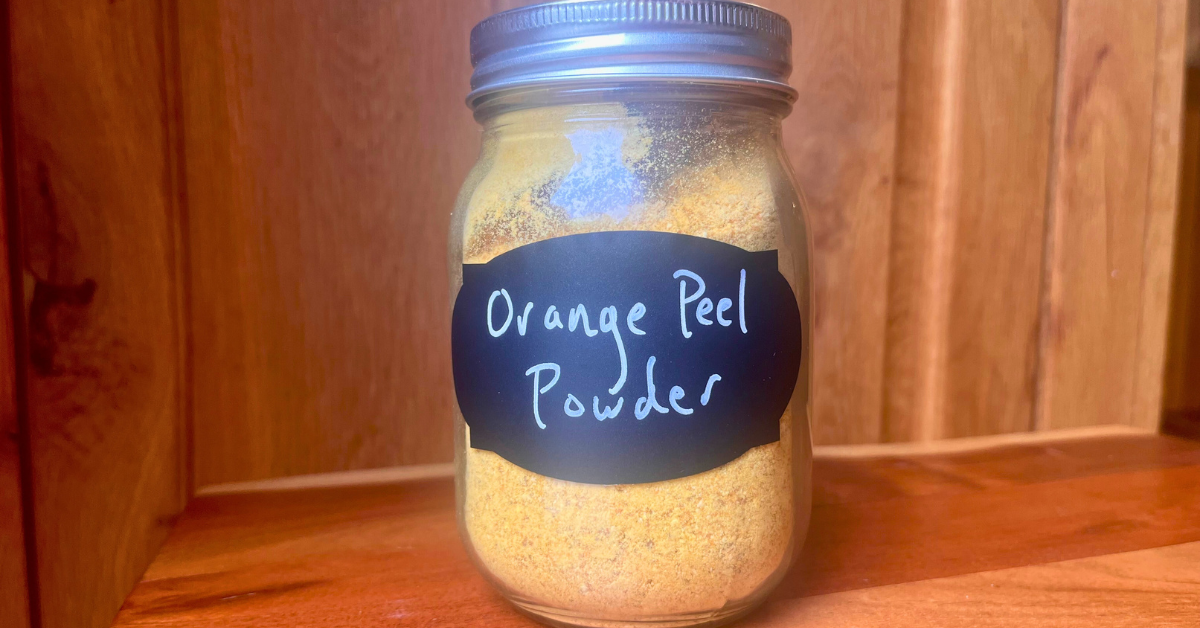
Do you want to know how to make orange peel powder? Instead of buying it you can make it from your discarded orange peels. If your family eats oranges, you can pretty much make this for free from something you would normally throw out.
Why Make Citrus Peel Powder?
Not only is it cost effective, but orange peel powder is a vitamin powerhouse. Did you know that orange peels have more vitamin C than the inner fruit? The best way to take advantage of the vitamins is to use the peels to make a powder. I love that we can get more nutrition out of a part of the fruit we typically throw away.
Health Benefits
The high amount of vitamin C in orange peels is helpful for many health concerns and keeps the immune system strong. It also contains calcium, vitamin A, and potassium. Orange peels have a bitter taste which is helpful for stimulating digestion. It is often used as a part of digestive bitter supplements.
There is a variety of ways that you can use orange peel powder. It can be used in cooking, herbal medicine, and skin care.
Uses for Orange Peel Powder
Food
- Add to a vanilla cake recipe
- Make orange cranberry bread or muffins
- Add to a vanilla ice cream recipe
- Use to make salad dressings
- Mix into yogurt
- Add to smoothies for a vitamin C boost
Herbals
- Add it to your Elderberry Syrup
- Make orange peel tea, simply steep in just boiled
- Add to tea blends, works well with hibiscus
- Make an orange peel tincture for digestions (can use orange peel powder or chopped fresh orang peels). Click here for directions for making a tincture.
- Use in addition to other herbs in Fire Cider
Skin Care
- Add it to body or face scrubs
- Use with other herbs to make Queen Hungary's Water
How to Make Orange Peel Powder
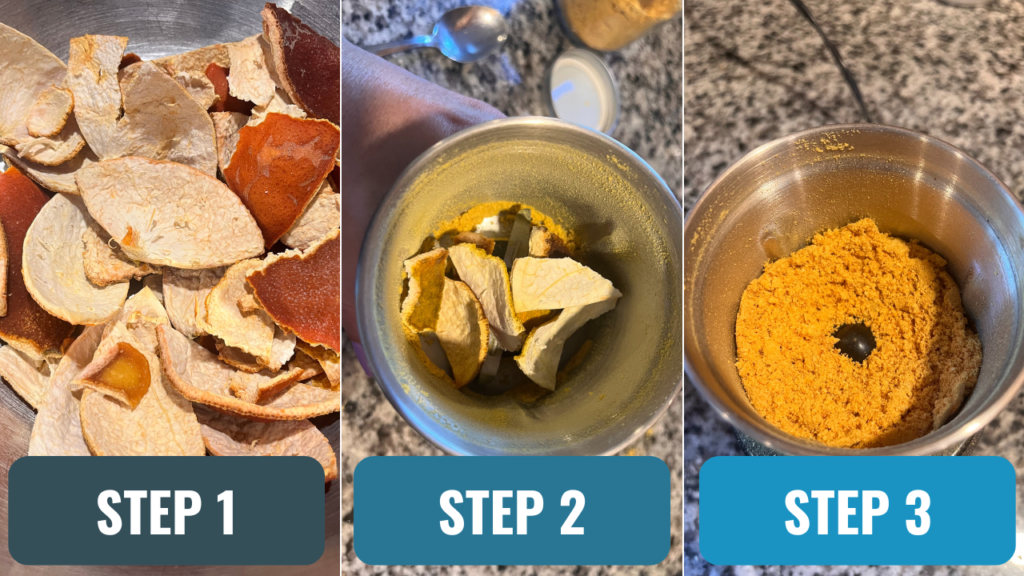
- Save your orange peels – Instead of throwing out orange peels, place them in a ziplock bag in the freezer until it is full. Make sure that your oranges are organic. The peels of conventional oranges contain pesticides so you would not want to consume them.
- Dehydrate – If you have a dehydrator, lay all of the orange peels in a single layer on the trays. Dehydrate at least 6 hours, or until they are crispy. You can also leave out them to air dry, which will take several weeks.
- Grind – Use a spice grinder or food processor to grind the peels into a fine powder.
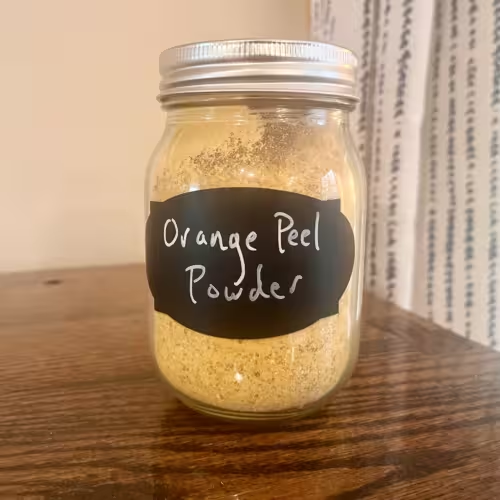
- Store – Place your orange peel powder in an air-tight container to store for use in your recipes.
Orange Peel Powder
Ingredients
- Organic Orange Peels
Instructions
- Save your orange peels – Instead of throwing out orange peels, place them in a ziplock bag in the freezer until it is full.
- Dehydrate – If you have a dehydrator, lay all of the orange peels in a single layer on the trays. Dehydrate at least 6 hours, or until they are crispy. You can also leave out them to air dry, which will take several weeks.
- Grind – Use a spice grinder or food processor to grind the peels into a fine powder.
- Store – Place your orange peel powder in an air-tight container to store for use in your recipes.
Thank you for reading this post, don't forget to subscribe to stay in the loop. If you are looking for some of the healthy tools and resources mentioned in my articles, take a look at my healthy shopping guide.
Some of our links are affiliate links, which means if you click and buy, I earn a small commission. The price is the same for you, though. Thank you!
You might also like these posts…
-
How to Make a DIY Pumpkin Enzyme Face Mask
Category: Natural Skin Care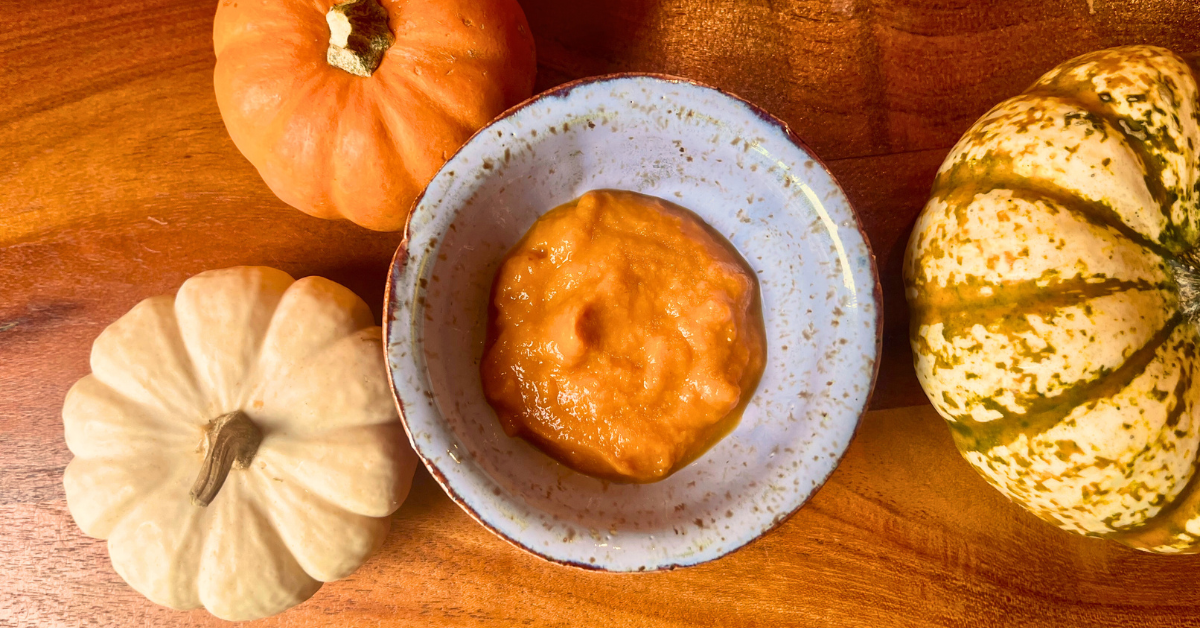
You can make a DIY Pumpkin Enzyme Face Mask with only a few ingredients at home. Pumpkin enzyme masks are often used in spas for facials and many skin care companies sell pumpkin masks for at home use. It's inexpensive and quick to mix up this DIY version. You will love all the skin nourishing benefits of pumpkin.
What Does Pumpkin Do for your Skin Topically?
Pumpkin is packed with fruit enzymes and alpha hydroxy acids (AHAs) such as Glycolic acid, that exfoliate the top layer of dead skin. These enzymes and acids also increase cellular turnover. Pumpkin also contains salicylic acid that helps to further exfoliate and helps to reduce inflammation. Other helpful ingredients that pumpkin contains are essential fatty acids and Vitamin E. Both of these help regulate sebum production.
Add Pumpkin to your Diet for More Skin Benefits
Pumpkin is high in vitamins A and C, both important for healthy skin. In fact, pumpkin has the highest content of naturally occurring vitamin A. Another important nutrient for skin is zinc. Pumpkin happens to have high zinc content as well. Vitamin A and zinc are important for those who suffer from acne.
Pumpkins also contain antioxidants, such as alpha-carotene, beta-carotene and beta-cryptoxanthin which can neutralize free radicals. Both good for the skin and for your health.
How to Make a DIY Pumpkin Enzyme Face Mask
Here's what you'll need:
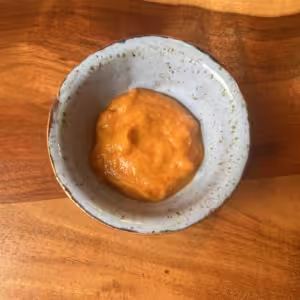
- 2 tbsp. pumpkin puree
- 1 tbsp. yogurt or kefir (this cashew kefir works)
- 1 tbsp. honey
- 1 tsp. lemon juice
Pumpkin Enzyme Face Mask Recipe
Ingredients
- 2 tbsp. pumpkin puree canned is fine
- 1 tbsp. yogurt or kefir
- 1 tbsp. honey
- 1 tsp. lemon juice
Instructions
- Measure and pout all the ingredients into a glass jar
- Thoroughly mix with a spoon or whisk
- Apply a thin layer to the face
- Leave mask on for 20 minutes and rinse off. Follow with your usual moisturizer.
How long should I leave pumpkin on my face?
You can leave the DIY pumpkin enzyme face mask on for about 20 minutes. Rinse the mask off your face and moisturize as usual.
How often should you use a pumpkin enzyme mask?
A fruit enzyme mask can be used 2-4 times per week as part of your skin care routine to see the best results.
What other types of masks help to moisturize skin?
Oatmeal masks are also very hydrating for this skin. Try this one in the Holistic Mama Shop. Or for a mask that is more detoxifying and cleansing try this DIY Clay Mask Recipe.
Thank you for reading this post, don't forget to subscribe to stay in the loop. If you are looking for some of the healthy tools and resources mentioned in my articles, take a look at my healthy shopping guide.
Some of our links are affiliate links, which means if you click and buy, I earn a small commission. The price is the same for you, though. Thank you!
You might also like these posts…
-
Benefits of Castor Oil for Skin
Category: Natural Skin Care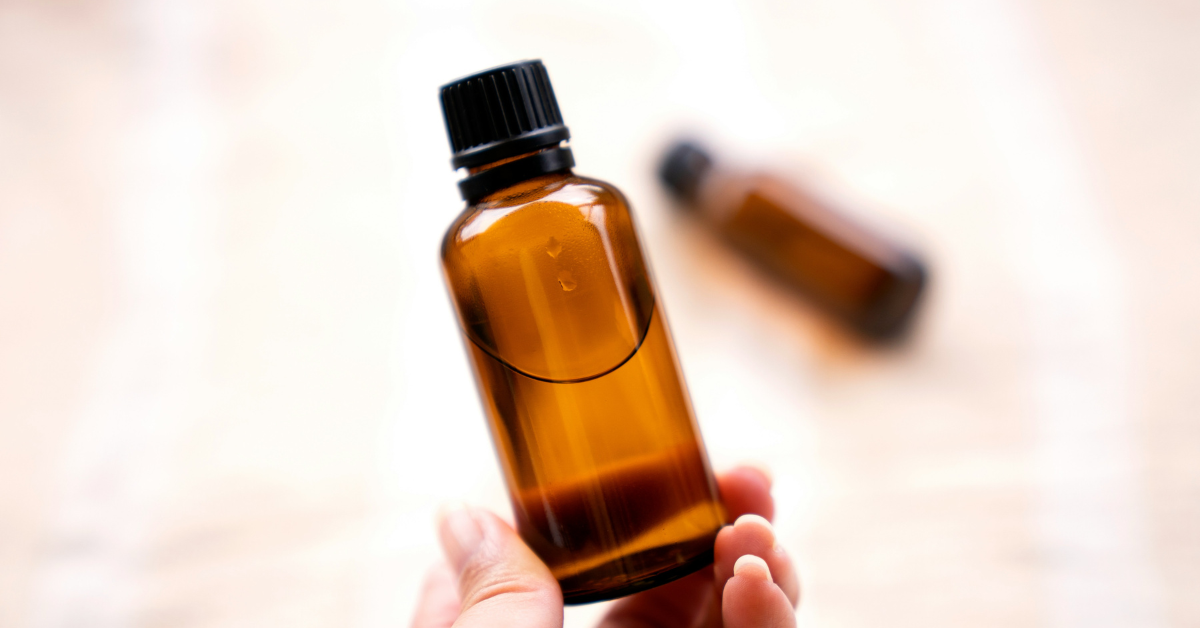
There are many benefits of castor oil for skin. You may have heard about castor oil used in a castor oil pack for detox but it is also great for skin care. It is a highly moisturizing oil that penetrates deep into your skin. Due to this, It has become a popular oil to use in skin care.
What is Castor oil?
Castor oil is a thick, viscous liquid derived from the seeds of the Ricinus communis plant. It includes a mixture of triglycerides in which about 90 percent of fatty acids are ricinoleates. Oleic acid and linoleic acid are the other significant components. Ricinoleic acid, the main ingredient in castor oil, is a monounsaturated fatty acid that can help lock moisturize into your skin.
Benefits of Castor Oil for Skin Care
The fatty acids in castor oil benefits skin by moisturizing at a deep level. In addition to its moisturizing ability castor oil also has exfoliation, and anti-inflammatory effects. Another important component, the phytosterols, are effective in maintaining skin elasticity and reducing aging by promoting collagen.
Castor Oil for Dark Circles Under Eyes
In this study, participants used castor oil to treat hyperpigmentation (dark circles under eyes). The study found that a castor oil cream significantly reduced the melanin level, wrinkles, and skin laxity.
There are also benefits to using castor oil in your hair. Castor oil can also help promote movement and blood flow which is why it is used in many products that promote hair growth.
How to Apply Castor Oil on Your Face
If you want to use castor oil on your entire face as a moisturizer, it works well when mixed with other lighter oils like olive oil, almond oil, or avocado oil. You can add a few drops of castor oil to your regular moisturizer at night.
You can also use castor oil on its own to target certain areas of your face, such as under your eyes. It works well by itself, or mixed with essential oils, or carrier oils. An easy way to use castor oil under your eyes is in a roller bottle for easy application.
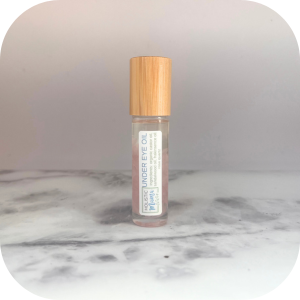
Under Eye Castor Oil Roller from Holistic Mama
Use Castor Oil to Wash Your Face
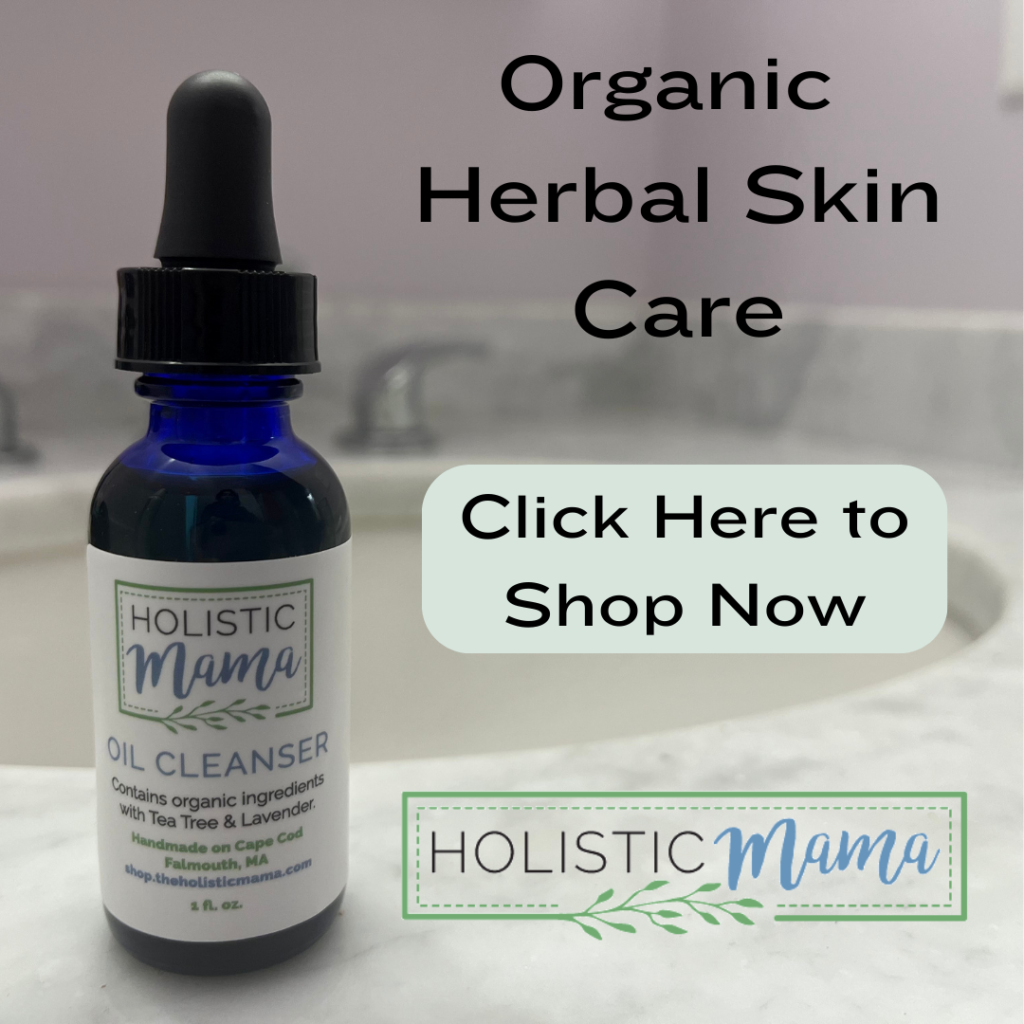
You may have heard about the oil cleansing method. It is an effective way to remove oil and dirt from your face without drying it out. Castor oil is one of the main ingredients in an oil cleanser. Read this post for complete details on how to use the oil cleansing method with castor oil.
Can I apply castor oil directly on my face?
Yes, you can apply castor oil directly on your face. Keep in mind, the oil is very thick and can take 30 minutes or more to absorb into your skin. Fo this reason, you can do this at night. Makeup does not apply well over castor oil.
What happens if I leave castor oil on my face overnight?
Generally, this produces good results. It allows time for the oil to soak into the skin deeply. One drawback may be that it can stain pillows or sheets. One way to avoid that is to apply the oil at least 30 minutes before you go to bed.
What are the disadvantages of castor oil?
Just like any other oil, there is always the chance that castor oil can cause irritation in some individuals, particularly those with sensitive skin. If you do have very sensitive skin or allergies, always patch test any new oils. When used in excess, it may clog pores in some people. If you are prone to this, use castor oil sparingly until you are confident it won't clog pores. Also, diluting it with olive, avocado or almond oil can also help.
Thank you for reading this post, don't forget to subscribe to stay in the loop. If you are looking for some of the healthy tools and resources mentioned in my articles, take a look at my healthy shopping guide.
Some of our links are affiliate links, which means if you click and buy, I earn a small commission. The price is the same for you, though. Thank you!
You might also like these posts…
Trending Posts on the Holistic Mama Blog
Holistic Mama Blog