
-
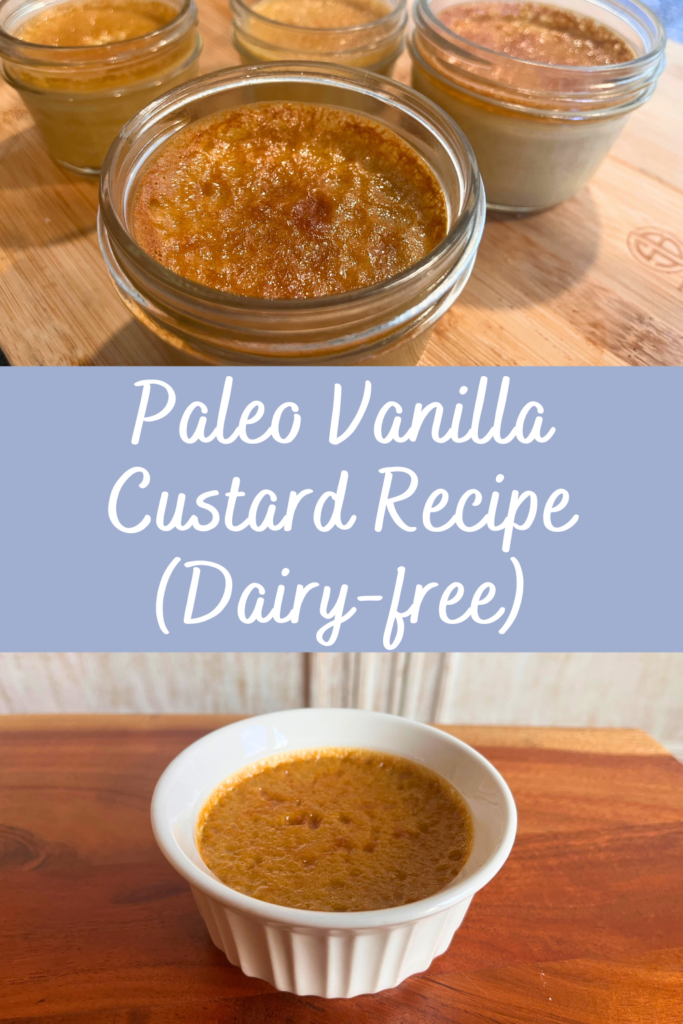
Healthy Paleo Vanilla Custard Recipe
Category: Real Food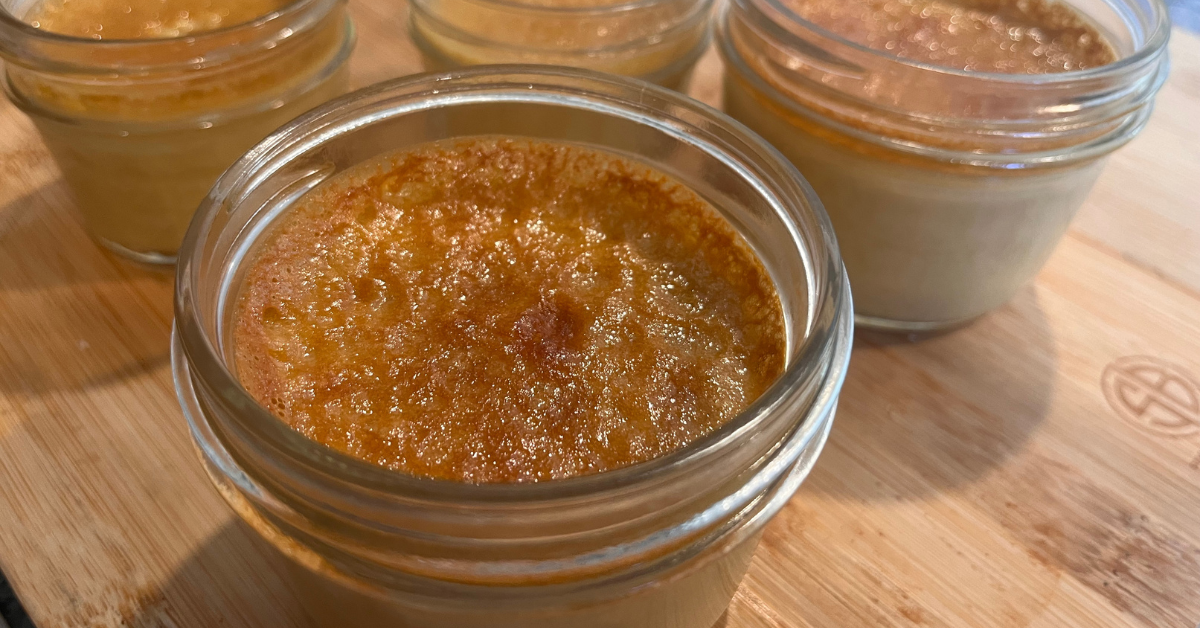
If you're wondering how to make healthy paleo vanilla custard, you've come to the right place. This recipe is actually quite healthy. While this custard is a dessert recipe you can even use this as a snack recipe. It's high in protein, fat, and lots of nutrients. It is dairy free so it also makes it great for anyone who cannot drink cow's milk. However, it can be made with any kind of milk including cow's milk, goat's milk, or your choice of non-dairy milk. The only milk I've ever used in this recipe and can say for sure that it works is canned coconut milk. I'm pretty confident this recipe would also work well with homemade cashew milk when made with slightly less water so it is thicker consistency.
Ingredients you will need
What is so awesome about this recipe is that it only uses four ingredients. It is also a very simple process to make this vanilla custard. All of the ingredients get mixed together in a blender and poured into ramekins or mason jars. The custard is baked at 325° until it is firm. It will look slightly browned on the top when it is finished. Here's what you'll need:
- canned unsweetened coconut milk
- eggs
- maple syrup
- vanilla extract (you could also use other types of extract to make it a different flavor)
Ways to Serve Paleo Vanilla Custard
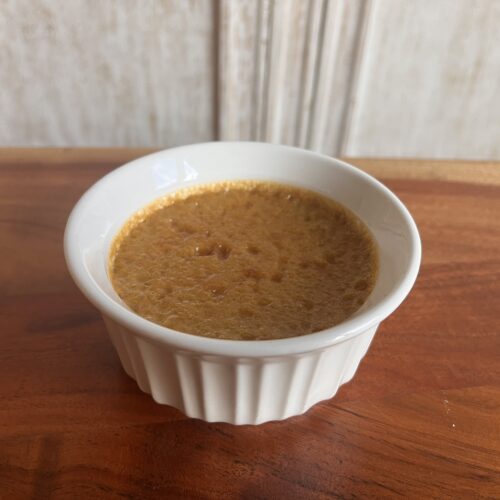
This custard recipe is delicious all on its own. You could also make this in a tart pan and then top it with fresh fruit and whipped cream with or without a crust. The instructions in this recipe explain how to make it an individual 4 oz cups. After it is baked and cooled, each cup could also be topped with fruit or whipped cream as well. If you have family members who like different toppings you could have them choose their own fruit to put on top.
Is Custard Healthy?
A typical custard recipe probably isn't all that healthy. If it's made with milk that isn't organic and white sugar, then it doesn't contain very many nutrients or healthy ingredients. However, this paleo custard recipe is made with coconut milk which is very healthy and maple syrup which is a healthy minimally processed sweetener. Coconut milk is a good source of magnesium, phosphorus, and potassium making this custard full of nutrients. In addition, use organic eggs for the best quality custard. There are 6 eggs in this custard which makes it high protein. High protein desserts and snacks are wonderful for children.
Paleo Vanilla Custard
Ingredients
- 3 cups unsweetened canned coconut milk
- 6 eggs
- 3/4 cup maple syrup
- 1 tbsp vanilla extract
Instructions
- Preheat oven to 325, prepare 4 oz ramekins in a pyrex dish
- Blend the coconut milk and maple syrup in a blender.
- Add eggs and blend to combine fully
- Pour into ramekins
- Add enough water to the pyrex dish to cover ramekins 1/2 way up
- Bake for 55 minutes
What's the difference between custard and pudding?
Custard recipes are thickened with eggs or sometimes just egg yolks. Pudding recipes are thickened with a starch such as cornstarch, tapioca, or another type of flower. Custard is healthier because it is higher in protein and lower in starches.
Is Custard gluten free?
Yes, custard is typically gluten free because it uses egg as a thickener instead of flour. Most of the time putting which is thickened with starches, is also gluten-free unless it is thickened with wheat flour. You would need to check the ingredients. This particular recipe uses no flour so it is definitely gluten-free and paleo.
Thank you for reading this post, don't forget to subscribe to stay in the loop. If you are looking for some of the healthy tools and resources mentioned in my articles, take a look at my healthy shopping guide.
Some of our links are affiliate links, which means if you click and buy, I earn a small commission. The price is the same for you, though. Thank you!
You might also like these posts…
-
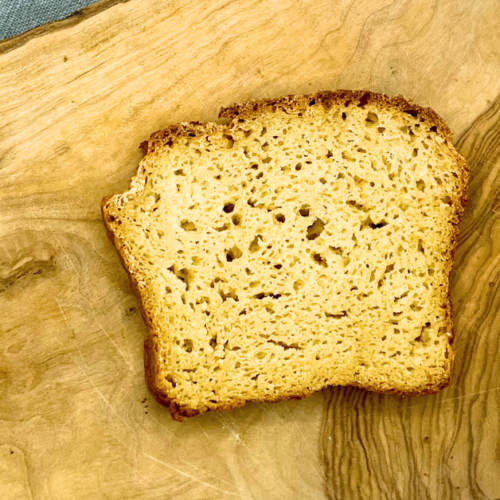
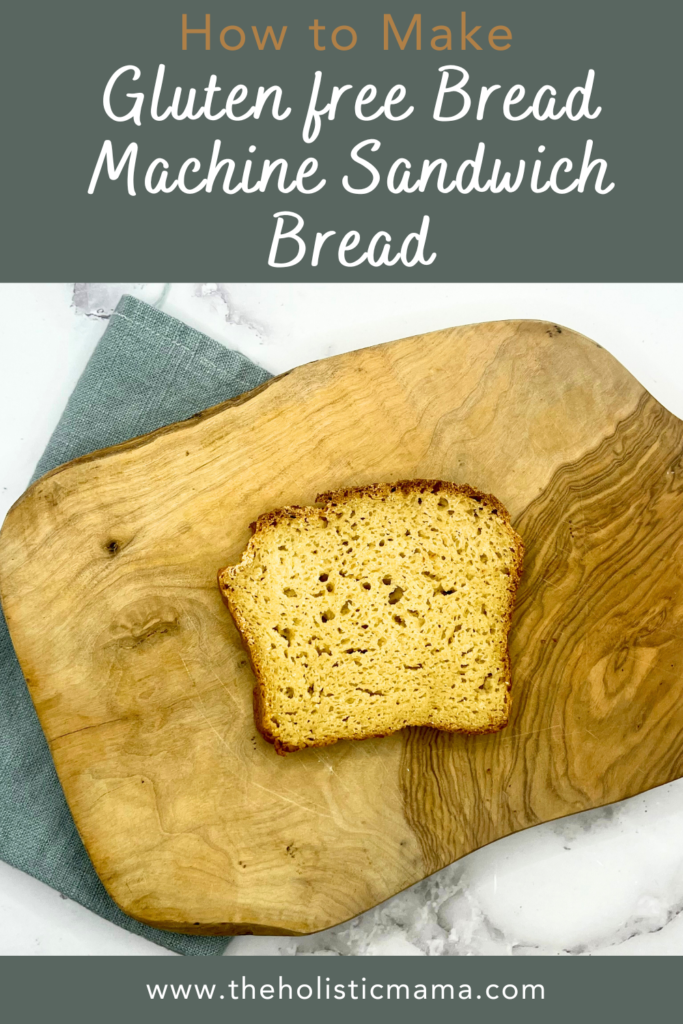
How to Make Gluten free Bread Machine Sandwich Bread
Category: Gluten Free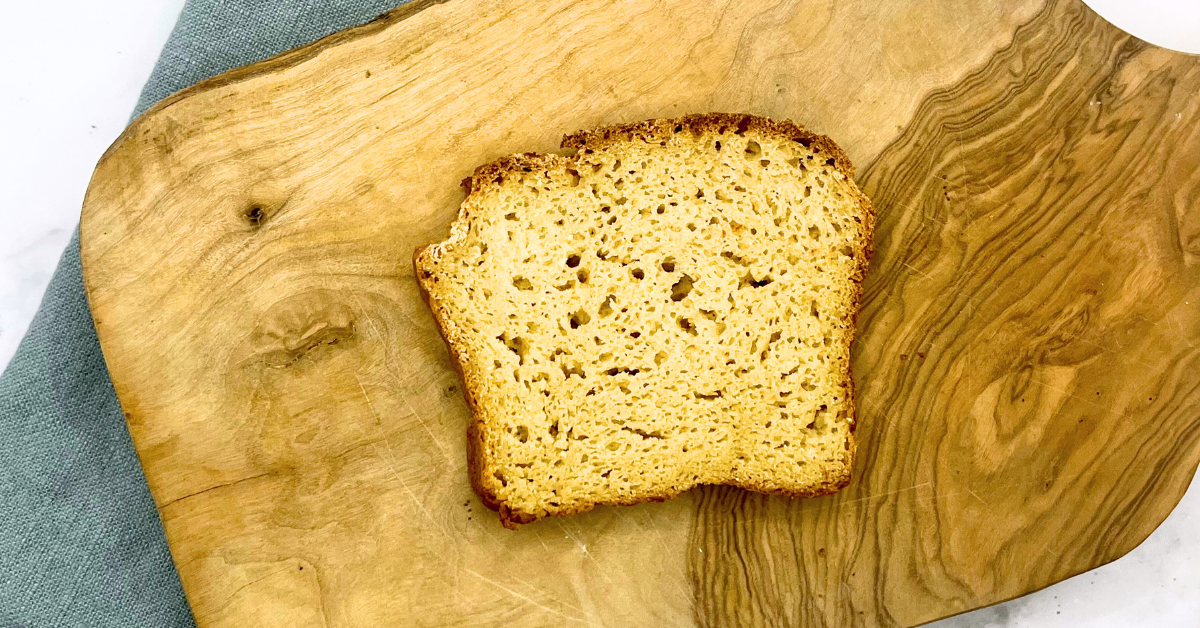
In case you are wondering, you can gluten free bread machine sandwich bread! I promise, it tastes much better then any store bought gluten-free bread brand. Even people who are not gluten-free will like this bread. The added bonus is that it's also cheaper to make then the mediocre store bread.
Can You Make Gluten free Bread in a Regular Bread Machine?
Yes! You absolutely can. Many of the newer bread machines actually have a setting on them called “gluten-free.” If you have this setting, use it. If you don't you can also use the setting called “French bread” or “homemade bread.” To be perfectly honest, I sometimes use the plain old white bread setting and it works fine.
Healthy Gluten free Bread
This recipe is a very healthy version of gluten free bread machine sandwich bread. Many of the store bought brands contain canola oil which is highly processed and causes inflammation. They also contain flours that are not organic which is very important to me. Many grains have pesticide residues due to the farming practices. When you make bread yourself you can choose organic gluten free flours. If you make homemade bread you also have the opportunity to make it dairy-free by using non-dairy milk.
Ingredients you will need:
- 3 eggs
- 1/4 cup maple syrup
- 1/4 cup olive oil
- 1 tsp apple cider vinegar
- 1 cup warm milk (any kind, non-dairy works)
- 3 cups gluten free bread flour – I premix my own bread flour using this ratio
- 1 1/2 tsp sea salt
- 1 tbsp xanthan gum
- 1 tbsp coconut sugar or turbinado
- 5 tsp yeast
Gluten free Bread Machine Sandwich Bread
Equipment
Ingredients
- 3 eggs
- 1/4 cup maple syrup
- 1/4 cup olive oil
- 1 tsp apple cider vinegar
- 1 cup warm milk (any kind, non-dairy works)
- 3 cups gluten free bread flour
- 1 1/2 tsp sea salt
- 1 tbsp xanthan gum
- 1 tbsp coconut sugar or turbinado
- 5 tsp yeast
Instructions
- Add all ingredients to the bread machine in the order that it is listed
- Use the gluten free setting on the bread machine. If it does not have that setting use the french bread setting.
Can you Make this Without Xanthan Gum?
I have not tried this but it may be possible. Here are some ideas for substitutions:
- Psyllium husk – I have used this successfully in other recipes. Mix with an equal amount of water and allow it to absorb the water for 5 minutes before mixing in to the recipe.
- Chia seeds – grind and ad equal amount of water.
- Flax Seeds – grind and ad equal amount of water.
- Unflavored Beef Gelatin
- Egg White
- Agar Agar
- Konjac powder
If you have experimented with any of these, please share in the comment section.
Thank you for reading this post, don't forget to subscribe to stay in the loop. If you are looking for some of the healthy tools and resources mentioned in my articles, take a look at my healthy shopping guide.
Some of our links are affiliate links, which means if you click and buy, I earn a small commission. The price is the same for you, though. Thank you!
You might also like these posts…
-
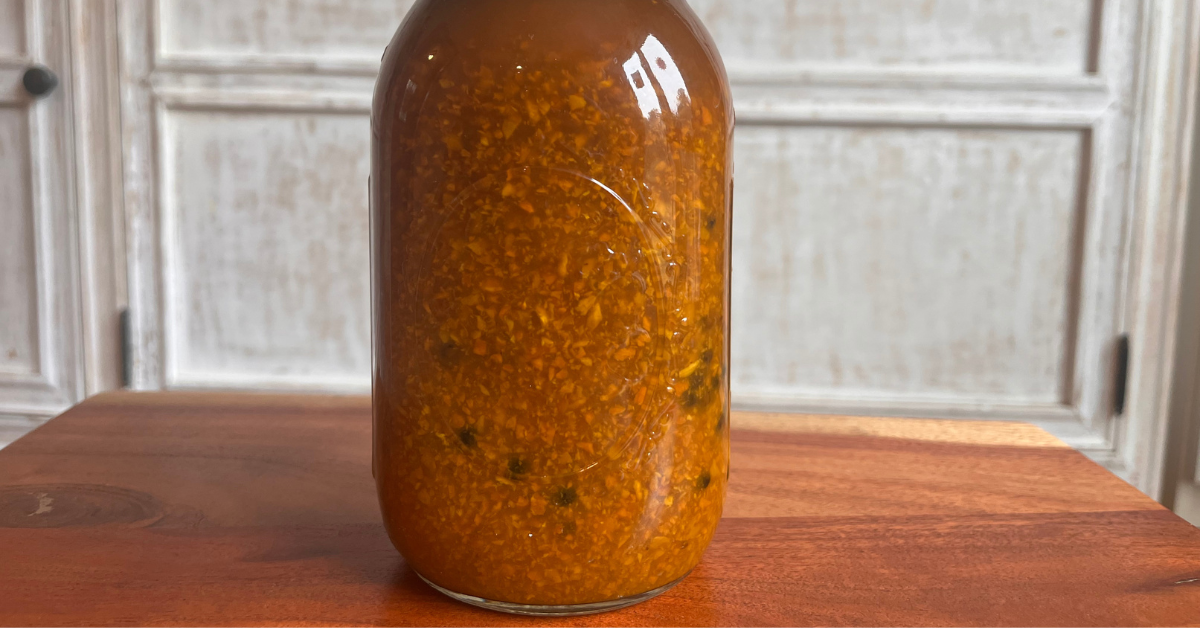
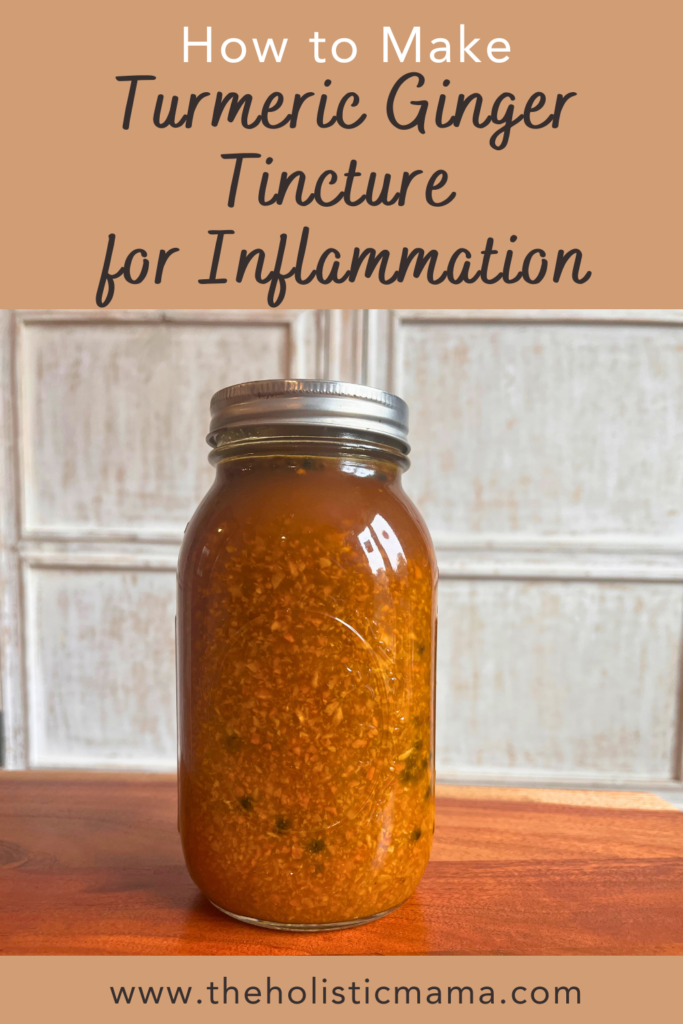
How to Make Turmeric Ginger Tincture for Inflammation
You can make your own turmeric ginger tincture at home to combat inflammation. Turmeric is a powerful herb that helps with inflammation of all kinds whether it is acute or chronic.
What Causes Inflammation?
Inflammation is a normal response that your body has to illness or injury. It's actually an essential response to heal the body. Inflammation occurs when inflammatory cells travel to the location of an injury or infection in the body. The cells assist with a current injury or infection as acute inflammation which is not a unhealthy occurrence.
What is Chronic Inflammation?
Chronic inflammation is what can become a longer term health challenge if the inflammatory cells stay in a part of the body to long. This is a slow process that can prolong for many months or years. The extent of the effects vary greatly depending on the severity. Due to the slow process it is sometimes hard to know that it is happening until symptoms occur.
How does Turmeric & Ginger help inflammation?
Turmeric
The active ingredient in turmeric that combats inflammation is curcumin. Current evidence suggests that curcumin is effective in reducing levels of inflammatory mediators. Additionally, curcumin’s anti-inflammatory properties may have a beneficial effect on inflammatory diseases like inflammatory bowel disease, arthritis, psoriasis, depression, atherosclerosis and COVID-19 (source).
Ginger
Ginger shows similar effects. Studies show ginger compounds such as 6-gingerol and 6-shogaol have an anti-inflammatory effect by inhibiting the production of inflammatory mediators.
How to Use Turmeric and Ginger
In Ayurvedic medicine ginger and turmeric are combined quite often with black pepper. According to the ancient wisdoms of Ayurveda, black pepper helps make ginger and turmeric more available for the body to use.
An inexpensive and powerful way to take advantage of these healing benefits, you can make your own turmeric ginger and black pepper tincture.
Turmeric Ginger Tincture
You will need:
- Turmeric root (fresh if possible)
- Fresh Ginger root
- Black peppercorns
- 100 proof vodka
- Glass mason jar
If you have ever made a tincture before, (like maybe this Cranberry Tincture recipe) this will be a familiar process. The amounts you need depend on the size of your jar.
- Grind up the turmeric root and ginger root in a food processor.
- Fill your glass jar about 2/3 to 3/4 of the way full with the fresh plant matter.
- Add the peppercorns on top – a few tablespoons to 1/4 cup will do if you are using a quart mason jar.
- Pour 100 proof vodka over top of the herbs until completely full.
- Cover with a tight fitting lid.
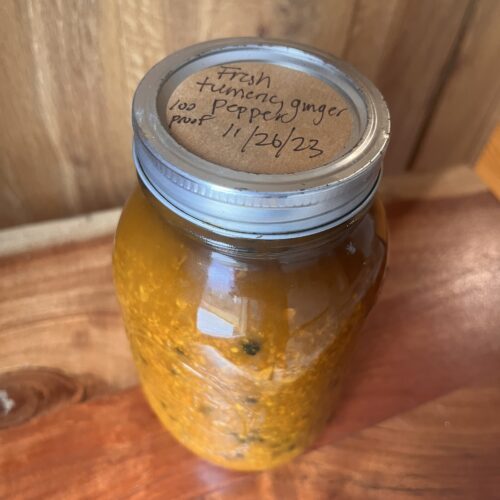
- Label your jar.
- Let this sit for 6-8 weeks before straining.
- Once strained, store in a dark glass bottle.
- Tinctures will last at least 2 years (if not indefinitely)
Turmeric Ginger Black Pepper Tincture
Ingredients
- Turmeric root fresh if possible
- Fresh Ginger root
- Black peppercorns
- 100 proof vodka
- Glass mason jar
Instructions
- Grind up the turmeric root and ginger root in a food processor.
- Fill your glass jar about 2/3 to 3/4 of the way full with the fresh plant matter.
- Add the peppercorns on top – a few tablespoons to 1/4 cup will do if you are using a quart mason jar.
- Pour 100 proof vodka over top of the herbs until completely full.
- Cover with a tight fitting lid.
- Label your jar.
- Let this sit for 6-8 weeks before straining.
- Once strained, store in a dark glass bottle.
- Tinctures will last at least 2 years (if not indefinitely)
Thank you for reading this post, don't forget to subscribe to stay in the loop. If you are looking for some of the healthy tools and resources mentioned in my articles, take a look at my healthy shopping guide.
Some of our links are affiliate links, which means if you click and buy, I earn a small commission. The price is the same for you, though. Thank you!
You might also like these posts…
Trending Posts on the Holistic Mama Blog
Holistic Mama Blog