
-
Put Down the Pedialyte. Here’s 7 Healthy Electrolyte Drinks
Category: Real Food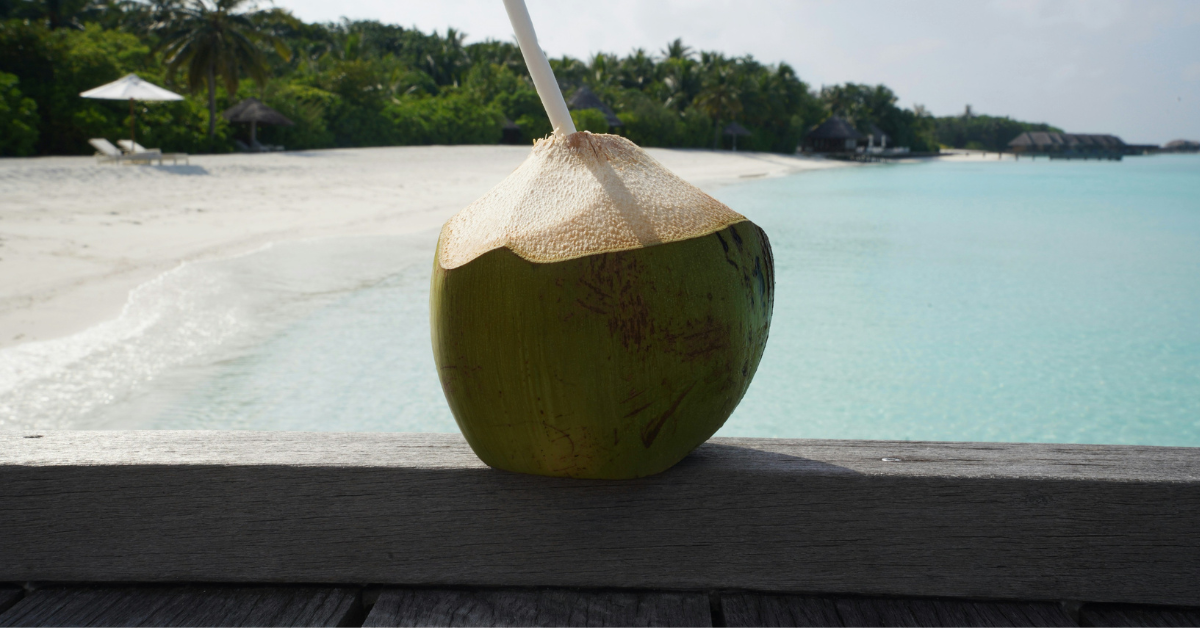
There are many options for healthy electrolyte drinks. Pedialyte and Gatorade are two of my pet peeves. The purpose of both of these drinks is to replenish electrolytes in the body. First off, does everyone know what electrolytes are and why we need them?
What are Electrolytes?
The word electrolyte has become a term thrown around a lot in marketing but most people are unclear on what they actually are. In the human body, electrolytes include sodium, potassium, calcium, bicarbonate, magnesium, chloride, hydrogen phosphate, and hydrogen carbonate, or in other words they are minerals.
Minerals are very important for good health. Yes pedialyte and gatorade both contain (synthetic) electrolytes but they come along with a handful of unnecessary artificial ingredients, sweeteners, and colors – none of which are going to help you or your child recover from an illness, and could even cause other problems.
Unfortunately, pedialyte is the go-to product recommended by pediatricians for children who have a stomach virus or an illness that causes repeated vomiting to replenish lost minerals. The real truth is that it's possibly the worst option and there are far better choices that can be made easily with ingredients you likely already have at home.
Let's take a look at what is actually in this product. Here are the ingredients in Pedialyte Strawberry:
Water, dextrose, citric acid, potassium citrate, sodium chloride, sodium citrate, natural flavor, sucralose, acesulfame potassium, zinc gluconate, RED 40, BLUE 1
After water you'll see dextrose, likely GMO, then you'll see the minerals, followed by natural flavor…I have to stop and talk about natural flavor for a moment.
What is Natural Flavor?
Natural flavor seems pretty harmless when you read it but, it might not. Natural flavor can be a derivative of anything that was once part of a “natural” ingredient. It's the food companies way of throwing things in there without having to put them on the label. If you have ANY type of food allergy or sensitivity, avoid natural flavors, because you'll never know exactly what it contains. Companies with integrity will disclose what is in the natural flavors if you reach out and ask.
Artificial Sweetener & Red 40
After natural flavors you'll see sucralose which is Splenda, a toxic artificial sweetener, and lastly you'll see red 40 and blue 1, artificial colors that have been linked to behavioral problems in children. From Cleveland Clinic… (link)
Red dye 40, made from petroleum, is approved by the U.S. Food and Drug Administration (FDA) for use in foods and drinks. But some studies have linked artificial food dyes like red dye 40 to hyperactivity, including ADHD. Some studies show a link between dyes and increased ADHD or hyperactivity in children.
Cleveland ClinicYikes. Now you can see why this product bothers me.
Synthetic Minerals
Lastly, it does contain minerals… the point of this drink in the first place. All of the minerals in pedialyte and gatorade can be found in foods and there are plenty of ways to get them in without using these artificial products. On the label for strawberry pedialyte, it contains the following minerals in a 12 oz serving:
- Sodium 370mg
- Total Sugars 9g
- Potassium 280mg
- Calcium 0
- Phosphorus 0
- Zinc 2.8mg
- Chloride 440mg
Healthy Electrolyte Drinks
I've pulled together a list of healthy, natural, drinks that can be made easily at home to use as an electrolyte replacement drink. These are all great for illness recovery and also as a sports drink. They will help to re-hydrate the body in a pure and healthy way without any added artificial ingredients.
Coconut Water
Coconut water contains electrolyte all on its own in its natural state. It is not as high in sodium and chloride but an easy way to increase that is to add a pinch of salt.
Minerals in Harmless Harvest Coconut Water
- Sodium 40mg
- Total Sugars 14g
- Potassium 541mg
- Calcium 46mg
- Phosphorus 162mg
- Magnesium 19mg
- Zinc 0
- Chloride 0
LMNT Electrolyte Powder
The main minerals in this powder are sodium, potassium, and magnesium. The packets are easy to take along with you and add to a water bottle.
- Sodium 1000mg
- Total Sugars 0
- Potassium 200mg
- Calcium 0
- Phosphorus 0
- Magnesium 60mg
- Zinc 0
- Chloride 0
Electrolyte Drink Recipes
- Homemade Healthy Electrolyte Drink This is a recipe I make for my children with honey and lemon
- Natural Pedialyte Alternative for Babies & Adults by Mama Natural. This recipe is only 2 ingredients which makes it really nice and simple. Coconut water has lots of natural minerals in it which makes it the perfect natural base for an electrolyte replacement drink.
- Homemade Pedialyte and Freezer Pops by The Easy Homestead. This recipe has ingredients in it that most everyone will have in the house so there is no excuse not to make it.
- Electrolyte Vanilla Cream Soda by Nourishing Simplicity. This one sounds delicious, we love the flavor of vanilla. Also, since this one uses stevia there is really no sugar in this at all. This is a great choice for anyone on a sugar-free or low-sugar diet.
- Tumeric-Lime Electrolyte Drink by Modern Alternative Mama. Turmeric has so many health benefits its great to get it in any way that you can. In this case, it also colors the drink to make it look a bit more like actual yellow gatorade too.
- Sole Water which is a simple salt solution you can make with Himalayan sea salt
Thank you for reading this post, don't forget to subscribe to stay in the loop. If you are looking for some of the healthy tools and resources mentioned in my articles, take a look at my healthy shopping guide.
Some of our links are affiliate links, which means if you click and buy, I earn a small commission. The price is the same for you, though. Thank you!
You might also like these posts…
-
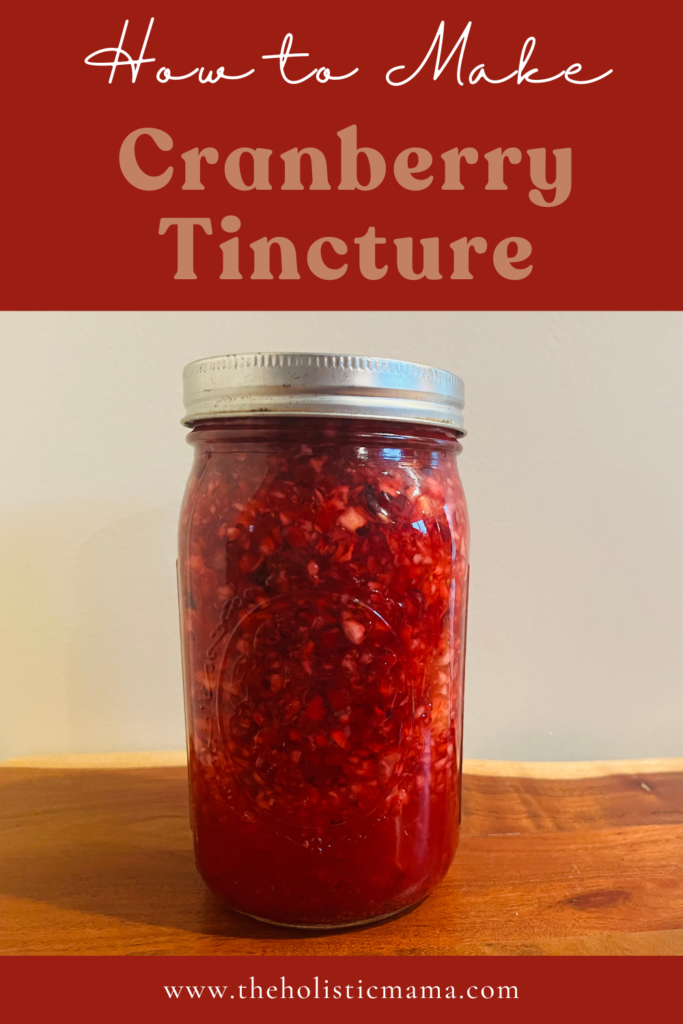
How to Make Cranberry Tincture
Category: Herbalism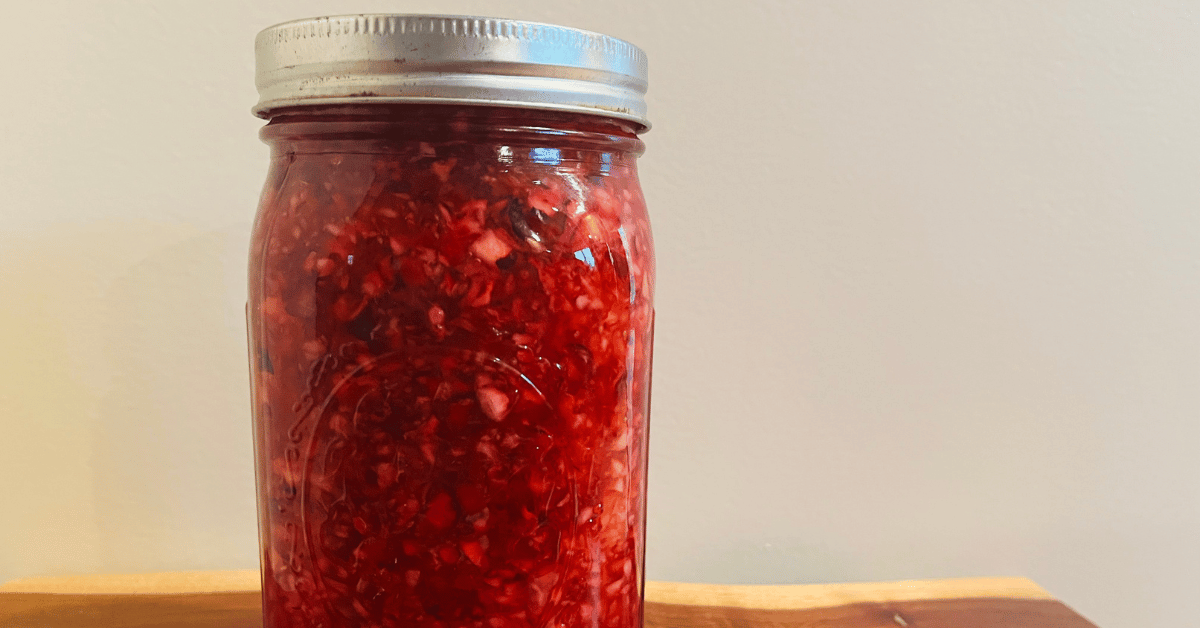
How to make a cranberry tincture? It only takes two ingredients to make your own homemade cranberry tincture. If you have ever had a UTI and drank cranberry juice you have already witnessed what this berry can do for you. The best way to get all the benefits of cranberries is to consume them without added sugar. Most cranberry juices contain a lot of added sugar so be careful when purchasing it for medicinal use.
Health Benefits of Cranberries
Cranberries are a widely known remedy for urinary tract infections for a good reason. Studies have shown that drinking cranberry juice or taking cranberry pills prevent reoccurring infections. It's important to drink a cranberry juice that does not have added sugar like this one but it can be quite tart. A cranberry tincture is a more concentrated form of cranberry and more convenient to have on hand and take on the go.
Cranberries are also high in antioxidants. Some of these vitamins could be extracted into the tincture when using 100 proof vodka which is 50% water. Vitamin C and other antioxidants are better extracted with water or vinegar than alcohol. Another option is to make cranberry infused apple cider vinegar which may extract even more vitamin C and could also be used for this purpose.
Herbal Teas for UTI
In addition to cranberry, there are some helpful herbal teas you can drink to help as well. These herbs are diuretic and contain helpful compounds to fight a UTI.
- Dandelion Tea
- Hibiscus Tea
- Cornsilk Tea
- Parsley Tea
How to Make Cranberry Tincture
First, get your hands on some organic fresh cranberries. The Fall is when you will have the best luck finding them in the grocery store. When I see them I buy multiple bags and throw a few in the freezer.
Ingredients for Homemade Cranberry Tincture
- Fresh Organic Cranberries
- 100 proof vodka
It's important to use organic cranberries because conventional cranberries are sprayed heavily with pesticides. The process of making a tincture will also draw out the pesticides into your tincture which you do not want!
Instructions:
- First rinse the cranberries and pick out any mushy ones and discard.
- Rough chop or place in a food processor for a few pulses to chop.
- Place cranberries in a large, clean glass jar and pour the alcohol ensuring that the berries covered.
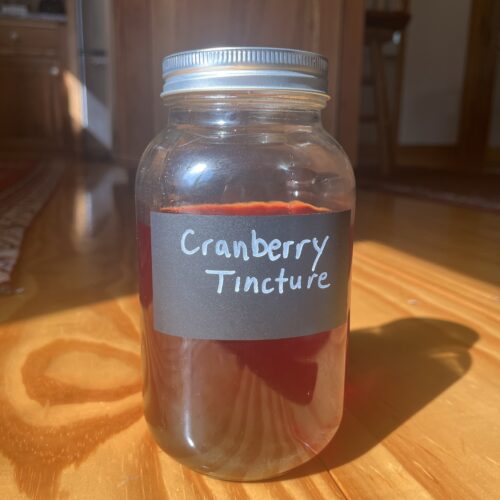
- Close and label your jar with the name of the herb, solvent, and the date.
- Shake the jar for 1-2 minutes.
- Store in a cool dark place for at least 10-14 days (or longer), shaking the jar every 1-2 days.
- After 14 days you are ready to strain out the herbs. Pour the jar through a mesh strainer or cheesecloth. (There are some new fancy tools for this I have found like this herb press that helps make it less messy and extracts every last drop).
- Squeeze out the herb to get all remaining liquid.
- Discard or compost your cranberries (or you can use them in other recipes)
- Pour your finished tincture into a clean dark class bottle using a funnel.
- Close and label your jar with the name and date of your tincture.
The process of making a tincture is the same for any food or herb. If you have made the Wild Rose Tincture on our blog, this will be a very familiar process.
Cranberry Tincture
Equipment
- Mason Jar
Ingredients
- 1 bag fresh organic cranberries
- 100 proof vodka
Instructions
- First rinse the cranberries and pick out any mushy ones and discard.
- Rough chop or place in a food processor for a few pulses to chop.
- Place cranberries in a large, clean glass jar and pour the alcohol ensuring that the berries covered.
- Close and label your jar with the name of the herb, solvent, and the date.
- Shake the jar for 1-2 minutes.
- Store in a cool dark place for at least 10-14 days (or longer), shaking the jar every 1-2 days.
- After 14 days you are ready to strain out the herbs. Pour the jar through a mesh strainer or cheesecloth. (There are some new fancy tools for this I have found like this herb press that helps make it less messy and extracts every last drop).
- Squeeze out the herb to get all remaining liquid.
- Discard or compost your cranberries (or you can use them in other recipes)
- Pour your finished tincture into a clean dark class bottle using a funnel.
- Close and label your jar with the name and date of your tincture.
Thank you for reading this post, don't forget to subscribe to stay in the loop. If you are looking for some of the healthy tools and resources mentioned in my articles, take a look at my healthy shopping guide.
Some of our links are affiliate links, which means if you click and buy, I earn a small commission. The price is the same for you, though. Thank you!
You might also like these posts…
-
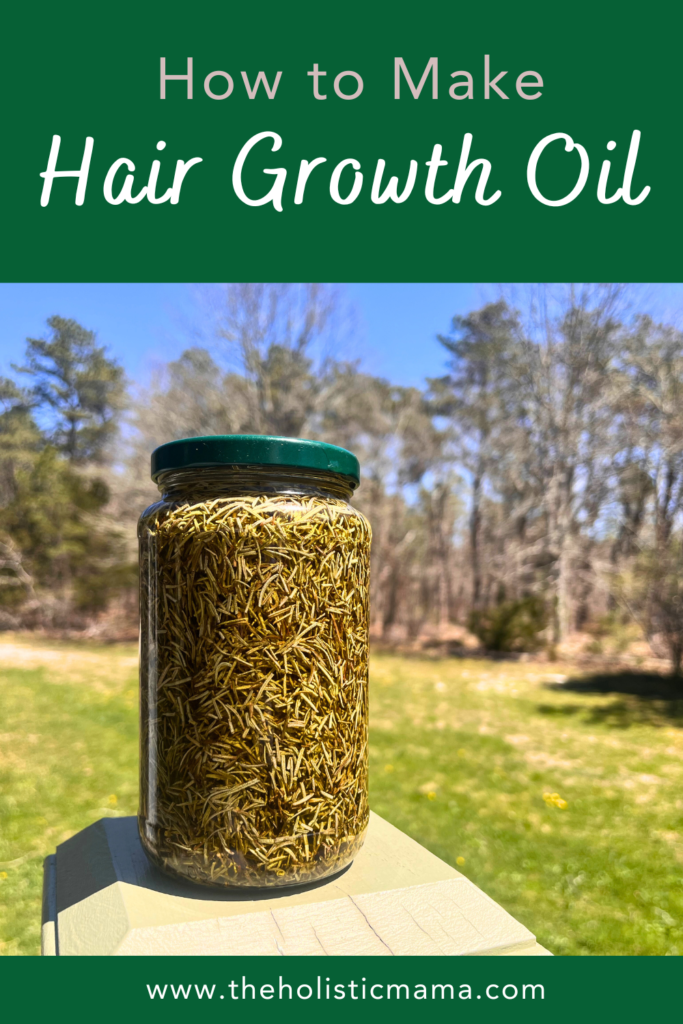
Hair Growth Oil You Can Make Yourself
Category: Natural Skin Care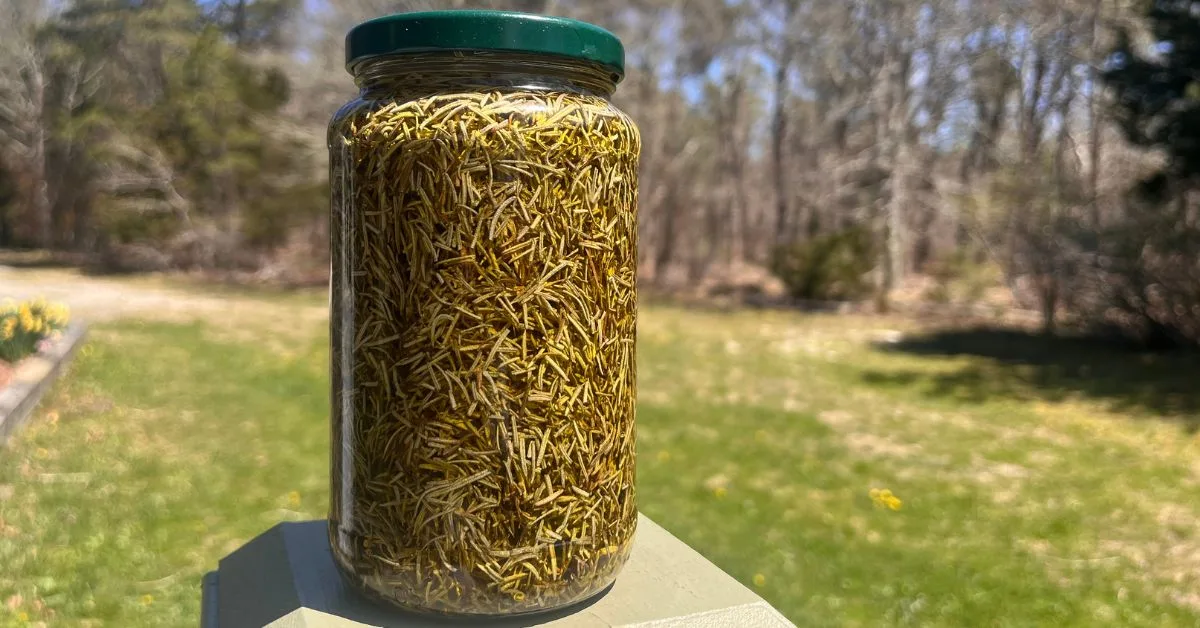
Hair growth oil can be made at home with herbs and oils that are specifically nourishing for your hair and scalp. If you have ever made an herbal infused oil before you will understand the process quite well.
Herbs for Hair Growth
Rosemary
Rosemary has powerful antioxidant, anti-inflammatory and antimicrobial properties. Derived from the Rosemary plant, rosemary oil has been studied for it's effects on hair growth and has been proven to be more effective than a hair growth prescription product. When massaged into the scalp daily, it can help with hair growth. In addition, it is nourishing to longer lengths of hair. Rosemary oil can help to condition and strengthen your hair and also works to reduce damage and breakage.
Nettle
Nettle has been long appreciated for its medicinal uses. It is a very nourishing herb full of many nutrients including vitamins and minerals. Drinking a cup of nettle leaf tea could help with your hair and skin health because of all the nutrients it contains. Nettle leaf tea or tincture can be an herbal form of a skin and hair growth supplement. Nettle Leaf can also be infused into oil and use topically on the scalp to encourage hair growth.
In addition to the leaf, nettle root may help hair growth as well but for different reasons. Nettle root extract contains compounds that are thought to inhibit the production of dihydrotestosterone (DHT), a hormone linked to male and female hair loss. By reducing DHT levels, nettle root extract may help promote hair growth and prevent hair thinning.
Red Clover
Red clover is a perennial herb native to Europe and Asia and naturalized in North America. Is widely cultivated for hay and a nitrogen fixing crop. The flower heads are collected when newly opened in the summer. It is commonly used to treat skin conditions along with other purifying herbs. Red clover is also used to relieve menopausal symptoms due to the isoflavones it contains. Research suggests that red clover extract could help manage hair loss due to stress or aging. Since it is composed of several strong antioxidants it can help improve scalp health.
Hibiscus
Hibiscus is used in Ayurveda for hair growth. The hibiscus flower contains amino acids that can help to stimulate blood circulation in the scalp, which can encourage hair growth. It can also help to strengthen the hair shaft and prevent breakage.
Hair Growth Oil
Using a hair nourishing herb like rosemary or hibiscus, you can make your own hair growth oil by infusing the herb into a carrier oil.
Here are the instructions:
Standard Ratio
- 250g dried herb
- 3 cups carrier oil
Step by Step Instructions
- First, measure out your herbs and place in a clear glass jar.
- Pour oil until it completely covers the herb, close the jar, and shake well. Place the jar in a sunny spot, such as a windowsill, and leave for 4-6 weeks.
- After the infusion time is over, pour the oil into a muslin cloth, fine metal strainer, or use an herb press. Allow all of the oil to filter through and press or squeeze the remaining oil from the herbs.
- Lastly, pour the infused oil into a dark glass bottle, label ad store.
Hair Growth Oil
Materials
- 250 g dried Rosemary
- 3 cups carrier oil
Instructions
- First, measure out your herbs and place in a clear glass jar.
- Pour oil until it completely covers the herb, close the jar, and shake well. Place the jar in a sunny spot, such as a windowsill, and leave for 4-6 weeks.
- After the infusion time is over, pour the oil into a muslin cloth, fine metal strainer, or use an herb press. Allow all of the oil to filter through and press or squeeze the remaining oil from the herbs.
- Lastly, pour the infused oil into a dark glass bottle, label and store.
Hair Growth Shampoo
Make your own hair growth shampoo by mixing a little of your infused oil into your regular shampoo.
Hair Nourishing Carrier Oils
Choose a carrier oil that is particularly nourishing for hair. There are many options for carrier oils but these are all great for hair:
- Almond Oil
- Argan Oil
- Jojoba Oil
- Castor oil (mix a little with another oil because it can be very heavy).
- Olive Oil
- Coconut oil
How to Use Your Hair Growth Oil
Have you ever heard of hair oiling? Hair oiling is a practice of massaging oils throughout your scalp and hair to increase shine, moisture and overall health. This beauty routine has its roots in Ayurvedic medicine. There are two ways you can use the oil – on your scalp or on your hair lengths (or both).
To use your herbal infused hair growth oil, follow this process:
- Pour a small amount of oil into your hands and rub them together to warm it up. Use the oil to massage the scalp. Use your fingertips to apply gentle pressure and massage in circular motions or use one of these silicone scalp massagers,
- Next, you can add more oil to the lengths of your hair all the way to the ends.
- Once you have applied the oil, cover your hair with a shower cap or a hair towel.
- Leave the oil on your hair for at least an hour or as long as overnight.
- Lastly, give your hair a thorough shampoo to remove any excess oil. Use a mild shampoo and conditioner to avoid stripping your hair. Style as usual.
Thank you for reading this post, don't forget to subscribe to stay in the loop. If you are looking for some of the healthy tools and resources mentioned in my articles, take a look at my healthy shopping guide.
Some of our links are affiliate links, which means if you click and buy, I earn a small commission. The price is the same for you, though. Thank you!
You might also like these posts…
Trending Posts on the Holistic Mama Blog
Holistic Mama Blog