
-
How to Make Calendula Infused Oil
Category: Natural Skin Care
Calendula is one of the most well known herbs for skin care. Even beginners can make calendula infused oil which only requires two ingredients. The bright orange petals are an excellent remedy for red and inflamed skin. The healing properties of calendula also help to prevent the spread of infection and speed of the rate of repair.
Calendula's Key Actions
- Anti-inflammatory
- Relieves muscle spasms
- Astringent
- Prevents hemorrhaging
- Heals wounds
- Antispectic
- Detoxifying
Calendula is above all a remedy for the skin. It provides effective treatment for most all minor skin problems. Some of the skin issues calendula may help with include:
- Cuts & scrapes
- Minor burns
- Sunburn
- Acne
- Rashes
- Ringworm
- Althete's foot
- Thrush
- Cradle Cap
In addition to its healing properties for skin, it is also useful (as a tincture) for digestive issues and as a detoxifying herb. It can help treat underlying toxicity that cause systemic skin issues like acne or eczema.
Calendula is native to northern Europe and is easily propagated in temperate regions. It can be started from seed and grown as a part of an annual vegetable garden. The fresh blooms can be clipped off the plant to use fresh for tinctures or dried for making infused oils.
How to Make Calendula Infused Oil
Ingredients
- Dried Calendula Flowers
- Olive oil or Avocado Oil
Instructions
- First, fill a glass jar 2/3 full with dried calendula flowers.
- Next, pour oil over the flowers until it completely covers them, close the jar, and shake well.
- Place the jar in a sunny spot, such as a windowsill, and leave for 4-6 weeks. Alternatively, place the jar on a seedling mat for a small amount of heat.
- After the infusion time is over, pour the oil into a muslin cloth, fine metal strainer, or use an herb press. Allow all of the oil to filter through and press or squeeze the remaining oil from the herbs.
- Lastly, pour the infused oil into a dark glass bottle, label and store.
This method (in my opinion) makes the best calendula oil but it does take some time to infuse. Another way to make this oil is by heating it. Follow the instructions in this article to make this oil quicker (in one day).


Calendula Infused Oil
Equipment
- Glass jar
Ingredients
- Dried Calendula Flowers
- Olive oil or Avocado Oil
Instructions
- First, fill a glass jar 2/3 full with dried calendula flowers.
- Next, pour oil over the flowers until it completely covers them, close the jar, and shake well.
- Place the jar in a sunny spot, such as a windowsill, and leave for 4-6 weeks. Alternatively, place the jar on a seedling mat for a small amount of heat.
- After the infusion time is over, pour the oil into a muslin cloth, fine metal strainer, or use an herb press. Allow all of the oil to filter through and press or squeeze the remaining oil from the herbs.
- Lastly, pour the infused oil into a dark glass bottle, label and store.
Uses for Calendula Oil
Calendula is so versatile and is a go-to oil for almost all skin issues.
- Use alone as a facial serum and moisturizer
- Add the oil to a salve for cuts, scrapes, and burns
- Add to body oils for healthy skin
- Use after you've had too much sun exposure
Thank you for reading this post, don't forget to subscribe to stay in the loop. If you are looking for some of the healthy tools and resources mentioned in my articles, take a look at my healthy shopping guide.
Some of our links are affiliate links, which means if you click and buy, I earn a small commission. The price is the same for you, though. Thank you!
You might also like these posts…
-
The Best Way to Freeze Fresh Berries
Category: Real Food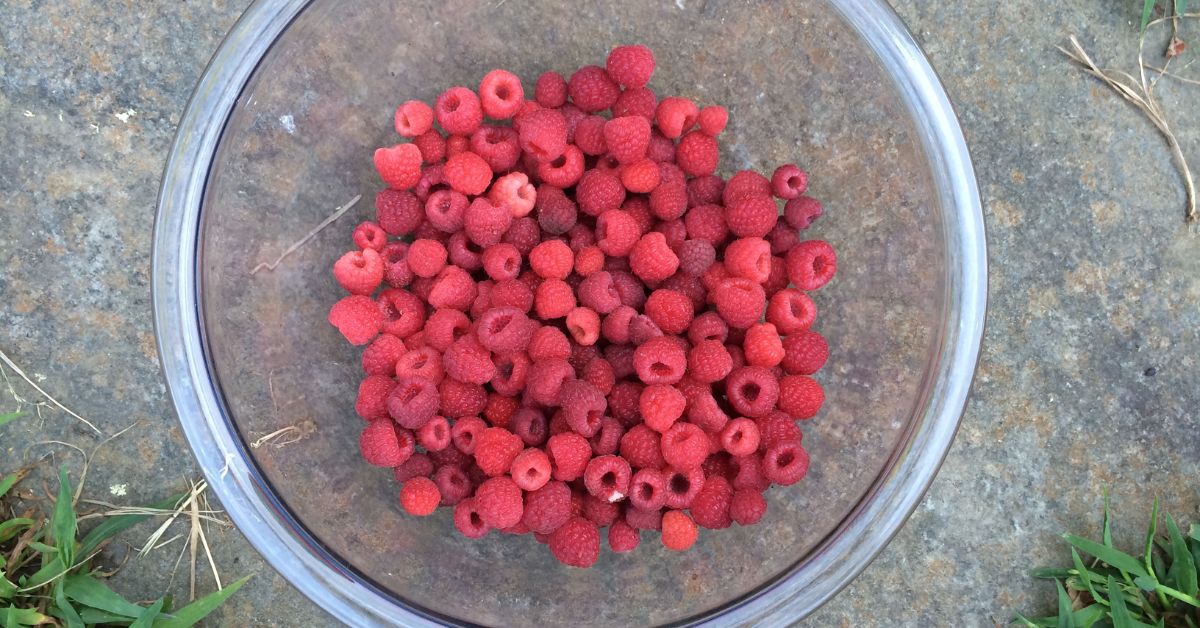
If you grow berries in your garden you will definitely want to know the best way to freeze fresh berries. Fresh berries are one of the many delights of having your own garden. Strawberries, blueberries, raspberries, and blackberries are some of the most popular berries to grow. They are all perennials and require little work to maintain. The first ripe strawberry of the year is very exciting! In my climate (New England), it is usually in the end of May or beginning of June.
Once the berries start ripening on the plant, they come quick. In some cases, it can be hard to keep up with picking. Most years, there are so many that we can only pick a fraction of what grows. You will have an overabundance of berries in a short amount of time so finding a way to preserve them is imperative. It takes a little bit of time and effort but you will be delighted in February when you can make a fresh blueberry pie from your own homegrown berries.
Can You Freeze Raw Berries?
You absolutely can freeze raw berries of any variety. There are a few tips and tricks to note so that you don't end up with a big mushed up frozen block in your freezer.
Should You Wash Berries Before Freezing?
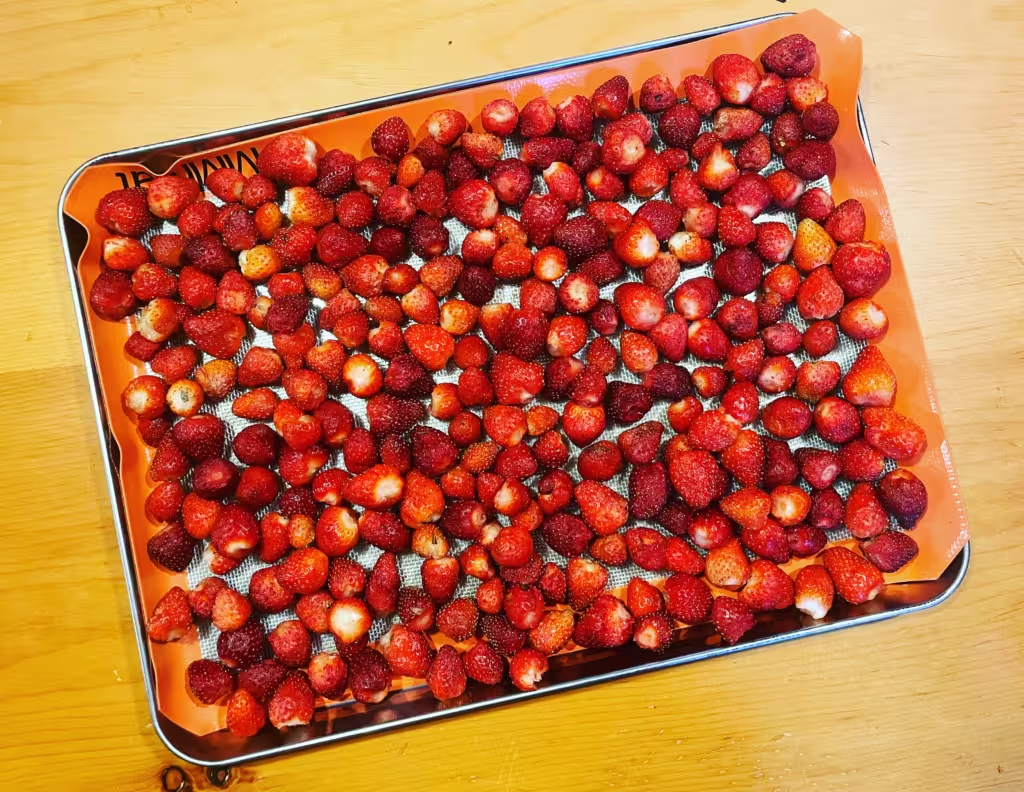
If you are freezing blueberries, blackberries, or high-bush raspberries you many not feel it is necessary to wash the berries. Especially if you have picked them shortly after a rainfall. Strawberries and low-bush raspberries are typically pretty dirty because they grow low to the ground so I always wash them before freezing. The key is that you must thoroughly dry the berries prior to freezing them or storing them in the refrigerator. The moisture will cause the berries to go bad much faster in the fridge and will cause the berries to clump together in the freezer. Fresh strawberries in particular tend to be soft so they get mushy fast if there is even a little bit of moisture on them.
How to Wash (& Dry) Fresh Berries
After you have collected your berries, bring them indoors as soon as possible. Leaving them in the sun or warm weather will cause them to go bad faster.
- Once you have your berries inside, place them in a large bowl.
- Fill the bowl with water and thoroughly rinse all the dirt of the berries. Most of the dirt will fall to the bottom of the bowl.
- Next. you can scoop the berries out with your hands and into a colander to get some water off the berries. You can also sort out any berries that have bug holes or are too mushy and toss them.
- Lay out some clean kitchen towels on the counter or a table.
- Gently pour the berries onto the towels and spread them out so there is minimal touching.
- Now you can leave them to dry for a few hours.
- If you want to speed up the process, place a small fan in front of them to help them dry off. I have a small tabletop fan I use for this purpose (also works for drying your nail polish! :))

Do You Remove Strawberry Tops Before Freezing?
It is not a requirement to remove the tops before freezing strawberries but I recommend that you do. After doing it both ways, it's worth it to take the time to do this extra step. Although, you still can throw frozen strawberries with the tops into your smoothies! The greens are perfectly fine to consume (the stems are more tough and you definitely want to remove them). If you will use your berries for pies or jam in the future you will want them to have the tops removed. It is difficult to remove them once they are frozen.
After you have washed and dried the berries, do a last sort for any bad berries and also remove the tops.
How to Freeze Fresh Berries
Now that you have picked, washed, and dried your berries, they are ready to freeze. Berries tend to get very soft after being frozen so you'll need to take some steps to make sure they don't clump together into a solid block. Here is how to do it:
- Take out a cookie sheet that you can fit into your freezer. If you have a bottom freezer, a small cookie sheet usually fits on the top tray.
- Place a piece of parchment paper or silicone baking mat on top of the cookie sheet.
- Lay the berries out on the cookie sheet in a single layer with minimal touching and no overlapping.
- Place the tray into the freezer for a minimum of 3 hours or until the berries are completely frozen.
- At this point you can take the tray out of the freezer and pour the berries into a ziplock back or a silicone food storage container like a stasher bag.
- The berries will stay frozen individually as long as they don't thaw out (like if someone accidentally leaves the freezer door open too long). You can then use them to scoop out any size portion you need for a smoothie or other recipe.
How Long Do Frozen Berries Last?
In my experience, when you freeze fresh berries they are good for about one year in the freezer.
What Do you Do With Frozen Berries?
There are so many recipes you can make with frozen berries. They can be used just as fresh berries are used in most recipes. When they thaw out they are mushier then a fresh berry but still very delicious and healthy. Here are some recipes that I make with frozen berries:
Thank you for reading this post, don't forget to subscribe to stay in the loop. If you are looking for some of the healthy tools and resources mentioned in my articles, take a look at my healthy shopping guide.
Some of our links are affiliate links, which means if you click and buy, I earn a small commission. The price is the same for you, though. Thank you!
You might also like these posts…
-
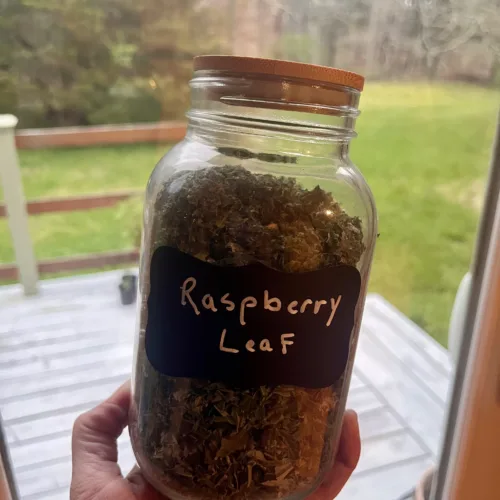
Raspberry Leaf Tea Benefits for Women & How to Make It
Category: Herbalism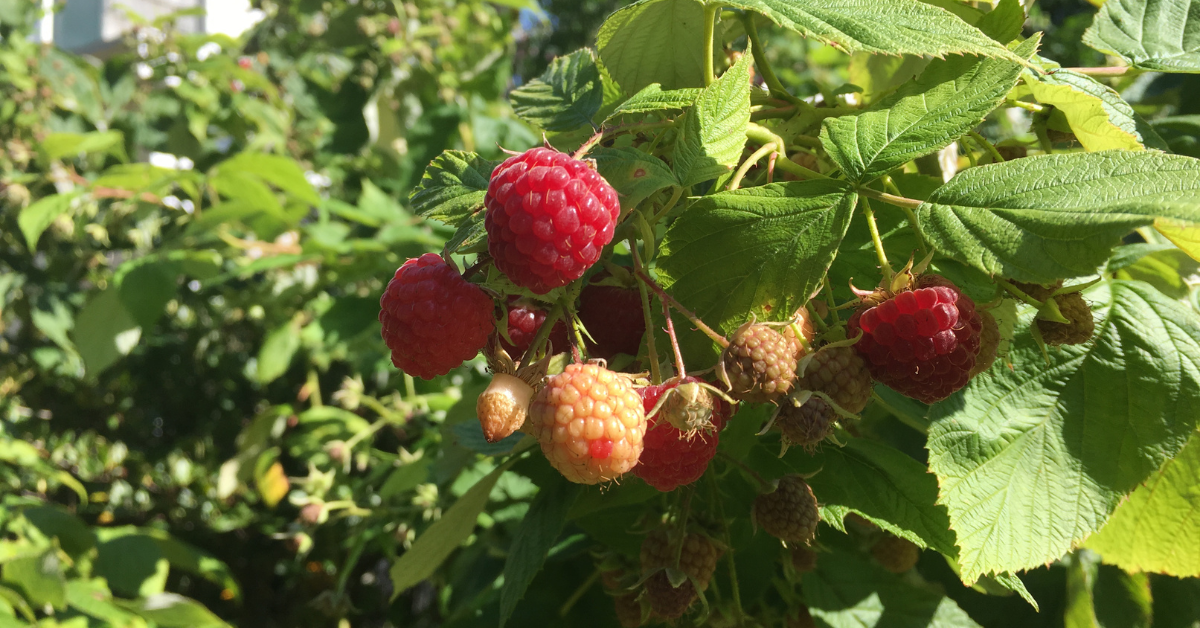
There are many benefits of raspberry leaf tea for women. For centuries it has been recognized as a uterine tonic by indigenous people. Native Americans have used raspberry leaf teas and extracts to treat pregnancy related problems. Today many women use raspberry leaf for pregnancy support and as a general women's health herb.
Key Actions
- anti-inflammatory
- nervine
- nutritive
- relaxant
- astringent
Raspberry Leaf Tea Nutrients
Many herbalists use raspberry leaf tea as a nutritive herb because it contains many vitamins and minerals. It contains potassium, calcium, magnesium, manganese, iron, vitamins bc and e. It also contains bioflavonoids and tannins. A long infused tea can extract many of these nutrients allowing us to take advantage of these vitamins and minerals.
Foraging for Raspberry Leaf
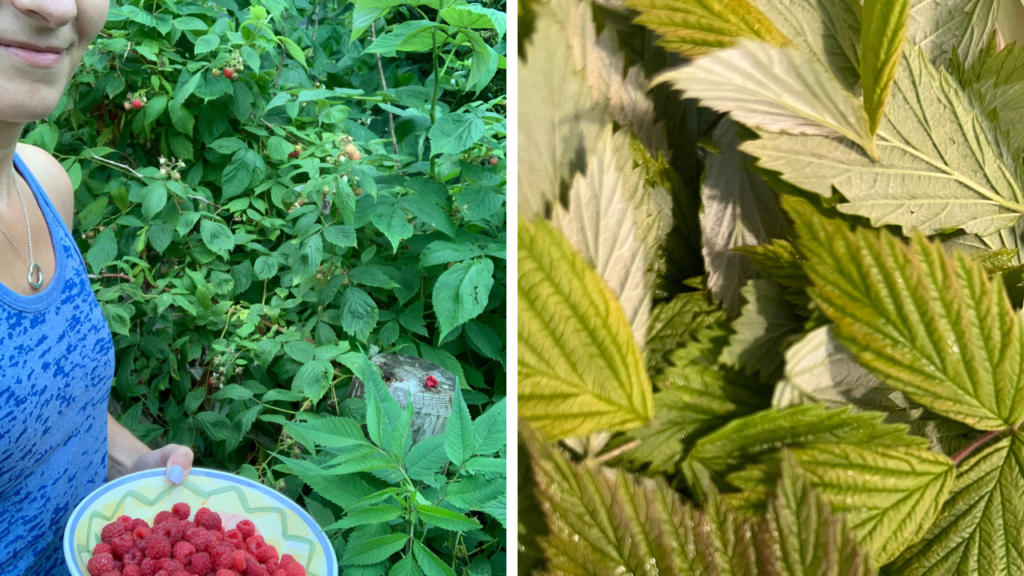
A member of the rose family, the raspberry is a perennial shrub, growing to six feet with woody stems with thorns. The pale green leaves have three to seven leaflets. Raspberry can be quite invasive, growing wild in woods, pastures, and on hillsides making it easy to find and forage.
When you find a plant, be sure to identify it correctly. Make use of a plant identification book when you are out foraging. Once you have positivly identified the plant, clip of each leaf into a basket. Lay the leaves out to dry or in a dehydrator at 125 for a few hours.
Raspberry Leaf Tea Benefits for Women
Raspberry leaf is referred to as a women's herb because it is a uterine tonic that increases tone and function of the uterine system. It can also offer support in regulating the menstrual cycle and may help decrease cramping and excess bleeding.
During pregnancy, this herb is to help reduce morning sickness and ease the birthing process. In the final months, it is used to prepare the uterus for delivery and reduce labor pains. If you are pregnant, you should consult with your doctor or midwife before drinking this tea.
Benefits for Digestion
Raspberry leaf is also a gentle all-purpose digestive aid for men, women, and children. It can help with mild issues such as indigestion and discomfort. Its astringent properties are also useful as a mouthwash for mouth ulcers and inflammation.

How to Use Raspberry Leaf
Tea
Use the dried leaves of the red raspberry plant for making tea. You can make a short or long infused tea. This tea can be potentially drying and it may be helpful to add a moistening herb along with it like marshmallow root, for example. A long infusion will offer the most nutritive qualities. To make an infusion use two tablespoons of loose raspberry leaf to 1 cup of water steep for at least 30 minutes and up to 8 hours.
Tincture
While raspberry leaf tea is the most common way to use this herb, you can also make a raspberry leaf tincture. The tincture won't have as many nutrition qualities as tea because most vitamins and minerals are water soluble. The tincture can be used for its astringent actions as well as used topically.
How much Raspberry Leaf tea should you drink?
A safe dosage of raspberry leaf tea for most healthy adults is 1–3 cups, but if you are pregnant, consult your physician for dosage.
Raspberry Leaf Tea
Ingredients
- 2 tbsp Raspberry leaf tea
- 1 cup Just boiled water
Thank you for reading this post, don't forget to subscribe to stay in the loop. If you are looking for some of the healthy tools and resources mentioned in my articles, take a look at my healthy shopping guide.
Some of our links are affiliate links, which means if you click and buy, I earn a small commission. The price is the same for you, though. Thank you!
You might also like these posts…
Trending Posts on the Holistic Mama Blog

Holistic Mama Blog