
-
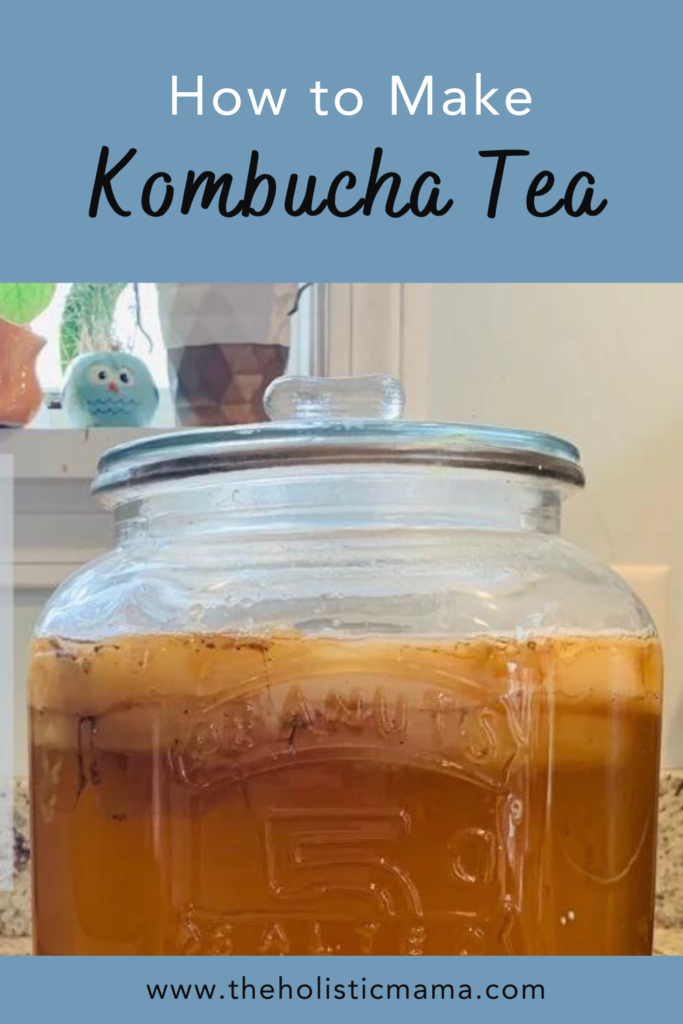
How to Make Kombucha Tea
Category: Fermenting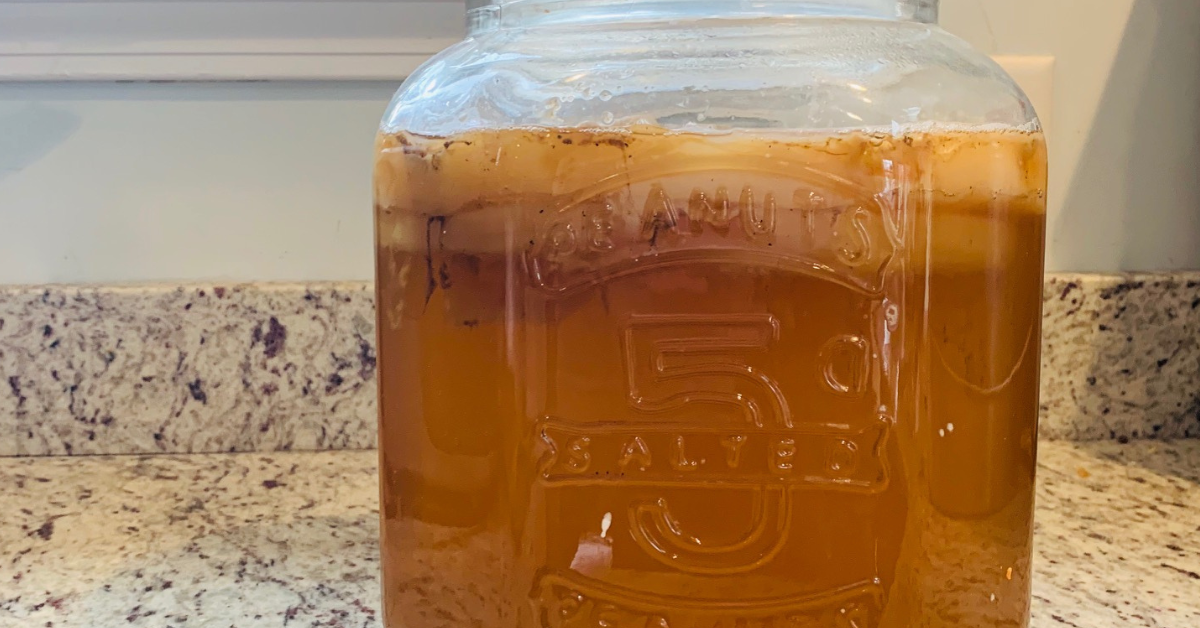
Do you want to learn how to make kombucha tea at home? If you are new to fermenting, this kombucha recipe is an easy beginner project. It’s low maintenance and creates a super healthy brew that tastes delicious. If you are already drinking kombucha that is store bought, this will save a lot of money and provide a lot more probiotics. Store bought brands are pasteurized which will kill some of the beneficial bacteria in a fermented brew so homemade is much better. The same is true for other ferments like Kefir and Sauerkraut.
What is Kombucha?
Kombucha is a fermented beverage made from two main ingredients – tea and sugar. In addition, you will need a “scoby” which is what makes the magic happen. A scoby is a combination of bacteria and yeast needed to create the fermentation process. Similar to using a starter for sourdough bread or kefir grains for kefir, a scoby is how to make kombucha.
What you Need to Get Started
- A large glass vessel for brewing (1.5 gallon+)
- 1/4 cup Loose Tea – black or green
- 1 cup Organic Sugar
- Kombucha scoby and starter
- Small empty kombucha bottles with tight fitting lids or swing top bottles like these (for the second ferment)
- Fruit Juice (for second ferment), Grape is a popular choice
- Plastic mesh strainer (like this one)
To get started, you need a vessel that holds at least a gallon of tea (1.5 gallon works well). Make sure the cover is either glass or plastic, never metal. Metal should not come in contact with your scoby. I purchased mine at Home Goods but it looks similar to this one.
Acquiring a scoby is the most important part! Ideally, you are lucky enough to get one locally or from a friend. If not, you can purchase a dehydrated scoby online. You will need to follow the instructions that come with it to get it going for your first batch. If you need starter for the dehydrated scoby you can use a bottle of store bought kombucha.
How to Make Kombucha: Your First Batch
Brew Black or Green Tea
It is smart to do this step first to allow the tea time to steep and cool before you are ready to use it in this kombucha recipe.
Black tea is traditionally used for kombucha but many people (including me) use green tea and it works nicely. Brew enough tea that will fit in your size vessel. If you are using a 1.5 gallo vessel, a gallon of tea is a good amount.
Tea Ratio
Use 1/4 cup loose tea per gallon of water. While the tea is still warm, add 1 cup sugar and stir to combine. You will need one cup of sugar per gallon of tea. Make sure you use organic tea and sugar to avoid any harmful chemicals in your brew.
Sterilize Your Vessel
Thoroughly clean your vessel, even better run it through a hot dishwasher to properly sterilize it.
Scoby and Starter Kombucha
Next, place your scoby and starter kombucha into the vessel. If you’ve gotten a hand-me-down scoby, the previous owner will give it to you in a small amount of their brew. This helps to get your batch started. Alternatively, you can use a store bought bottle of kombucha to get it going.
Add the Sweetened Tea
Once your tea is fully cooled, you may pour it into your vessel. Now we wait. Let this brew for two weeks. The ideal temperature for fermenting your brew is between 68-78 degrees Fahrenheit. If you house is cooler or you find your brew is not fermenting you can use a seed mat like this one to keep it just a little bit warmer and encourage fermentation.
The Second Ferment
After two weeks have passed, your kombucha is ready. You can drink it on it’s own or you can follow this kombucha recipe and start a second ferment to flavor it and to make it fizzy (most people do).
Bottling Your Kombucha
Now it’s time to use the small bottles, empty store bought kombucha bottles work perfectly or larger ones like this work well too. Use a funnel and a plastic mesh strainer to fill your empty bottles with the brewed kombucha tea. Use the strainer to catch any large clumps from going into the second ferment.
Fill your bottles about 3/4 of the way with kombucha tea. Then, fill the remaining 1/4 of the bottle with organic fruit juice and close tightly with a plastic lid.
Let this sit for at least 2-3 days and it will be ready to drink! It can sit longer which will reduce the sugar content. If you would like to slow down the process you can put it in the fridge.
Start Your Next Batch of Kombucha
Once you have bottled all your kombucha into the second ferment, now it’s time to start a new batch in your fermentation vessel. When first learning how to make kombucha be sure to refer back to the instructions and follow them closely until you have done it many times successfully. Be sure to leave some kombucha in the jar as your starter and add a new batch of sweetened tea. In two weeks, you can do this again!
Kombucha Flavors
You can be creative with your kombucha recipe by using new tea and juice combinations to find flavors you like. Make sure you use mostly green or black tea and then you can add herbs.
Some herbal flavors you might likeI like to try include:
Add a scoop of our Herbal C Tea in addition to the green tea for a fresh fruity flavor.
It’s fun to make kombucha tea at home and It’s a great way to get kids to consume a healthy fermentation because it tastes good. If you are looking for more ways to get fermented food in your diet, try making fermented garlic. Use it in place of regular garlic in your recipes to get the added benefits of the fermentation. Use in hummus, salad dressings, soups and more.
Thank you for reading this post, don't forget to subscribe to stay in the loop. If you are looking for some of the healthy tools and resources mentioned in my articles, take a look at my healthy shopping guide.
Some of our links are affiliate links, which means if you click and buy, I earn a small commission. The price is the same for you, though. Thank you!
You might also like these posts…
-
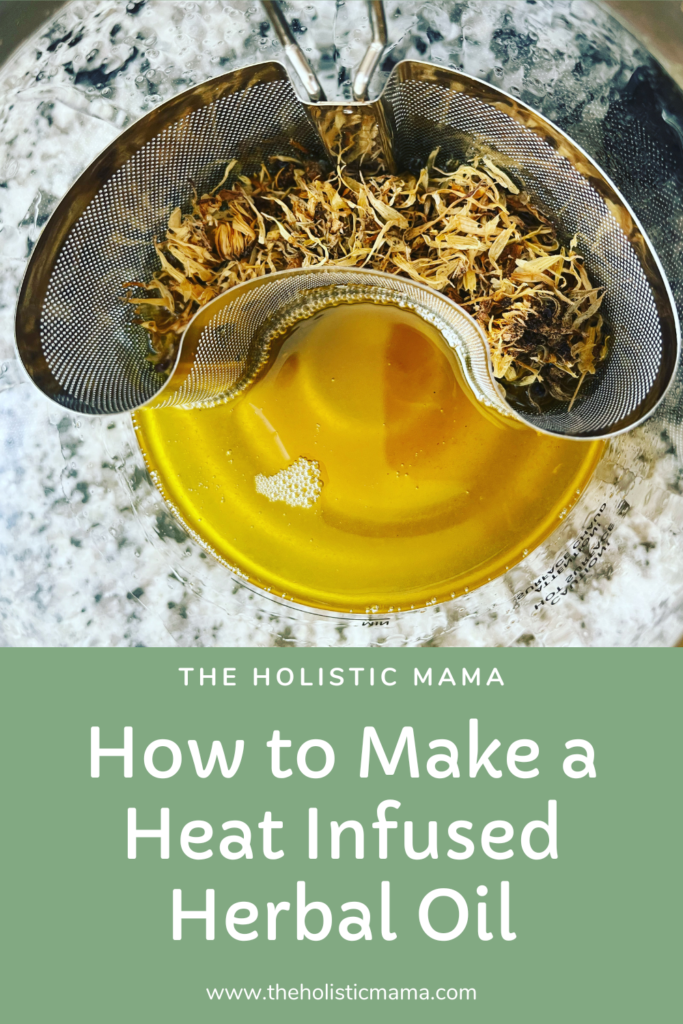
How to Make a Heat Infused Oil Quickly
Category: Herbalism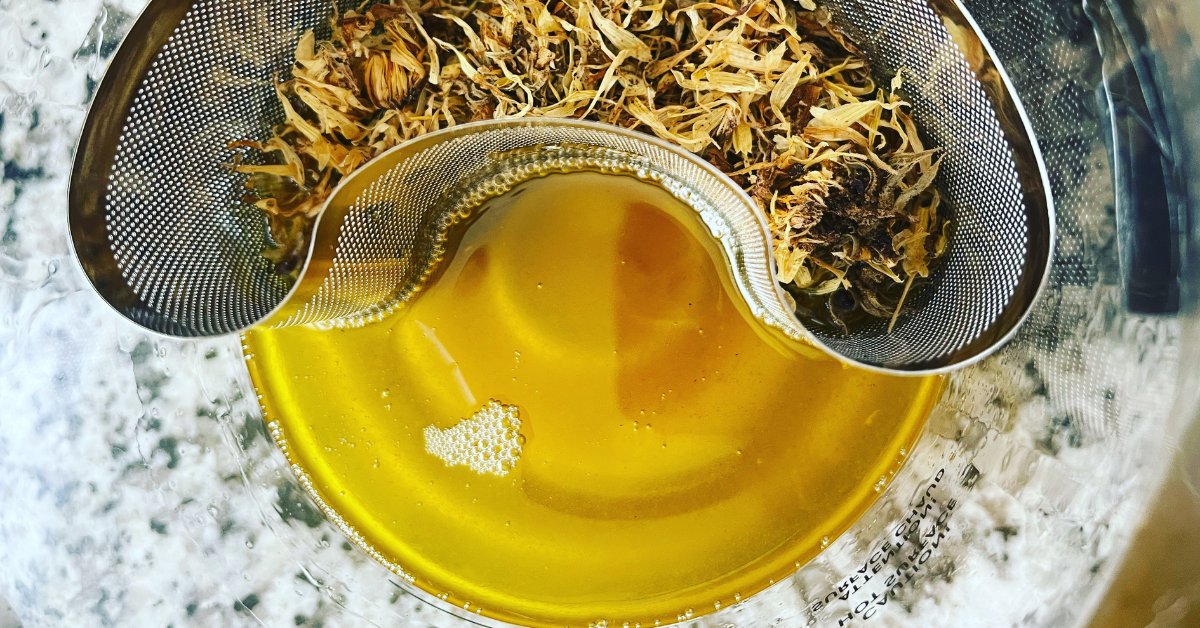
A heat infused oil is one of two methods you can use to make herbal infused oils. An herbal oil infusion is the process of extracting the active fat soluble ingredients in an herb into a carrier oil.
Cold Infused Oil vs. Hot Infused Oil
Cold Infusion
A cold infusion creates an herbal infused oil without using any heat. How you achieve this is to soak the herbs in oil for several weeks. You place your dried herbs into a glass jar, filling it about 1/3 of the way. Next, pour your carrier oil of choice over the herbs to the very top of the jar and close it tightly. Lastly, set this jar in a warm dark place for a minimum of 6 weeks before removing the plant material.
Hot Infusion
On the contrary, a hot infused oil uses heat to create the herbal oil infusion. A stovetop double boiler is the most common way to make a heat infused oil. It can also be done in a crockpot or an oil infuser.
Benefits of a Heat Infused Oil
The benefit of using heat to create your herbal oil is that it speeds up the process. Instead of waiting 6-8 weeks for your finished oil, you can have an herbal oil in one day's time.
Infused Oil vs. Essential Oil
It's important to note that infused oils are not the same as essential oils. Essential oils are only the plant's volatile oils that are extracted by steam distillation. Similarly, Infused oils are in skin care, hair care, and great for culinary purposes.
How to Make a Heat Infused Oil (Double Boil Method)
Standard Herb Ratio
- 250g dried herb
- 3 cups carrier oil – olive oil, almond oil, coconut oil, or any other high quality organic oil.
Step by Step Instructions
- Firstly, fill a mason jar or a glass measuring cup with your herbs and cover the herbs with your carrier oil. The oil should cover the herbs by a couple of inches.
- After that, place your glass container into a pot with a few inches of water to create a double boiler. Lightly simmer the water to warm the herbs and oil.
- Let this simmer gently for 2-3 hours.
- When the oil is done, remove the heat and allow the mixture to cool, then pour into cheesecloth or a fine mesh strainer to remove the plant matter.
- Press or squeeze the herbs to get all remaining oil out. (an herb press is a handy tool for that)
- Lastly, collect the strained oil and pour into a dark glass bottle using a funnel. Seal and label the bottle.
For this purpose, you don't need any fancy equipment to make a heat infused oil – you probably already own a pot, a glass measuring cup or mason jar, and a mesh strainer. Start simply and use the materials you already own. However, if you start to make a lot of infused oils there are some fancier tools that make the process less messy and less time consuming.
Should You Use Dried Herbs or Fresh Herbs?
It's best to use dried herbs when infusing oils because fresh plant matter will release moisture into the oil which can cause mold growth. Air dry fresh herbs by laying them out on a table, using an herb drying rack, or a dehydrator before using them in oil infusions.
How long does hot infused oil last?
Store your finished infused oil in a sterilized, airtight, dark glass bottle for up to 1 year, for best results, use within 6 months.
If you want more recipes to try, download our skincare recipe book here.
Thank you for reading this post, don't forget to subscribe to stay in the loop. If you are looking for some of the healthy tools and resources mentioned in my articles, take a look at my healthy shopping guide.
Some of our links are affiliate links, which means if you click and buy, I earn a small commission. The price is the same for you, though. Thank you!
You might also like these posts…
-
How to Use Stinging Nettle
Category: Herbalism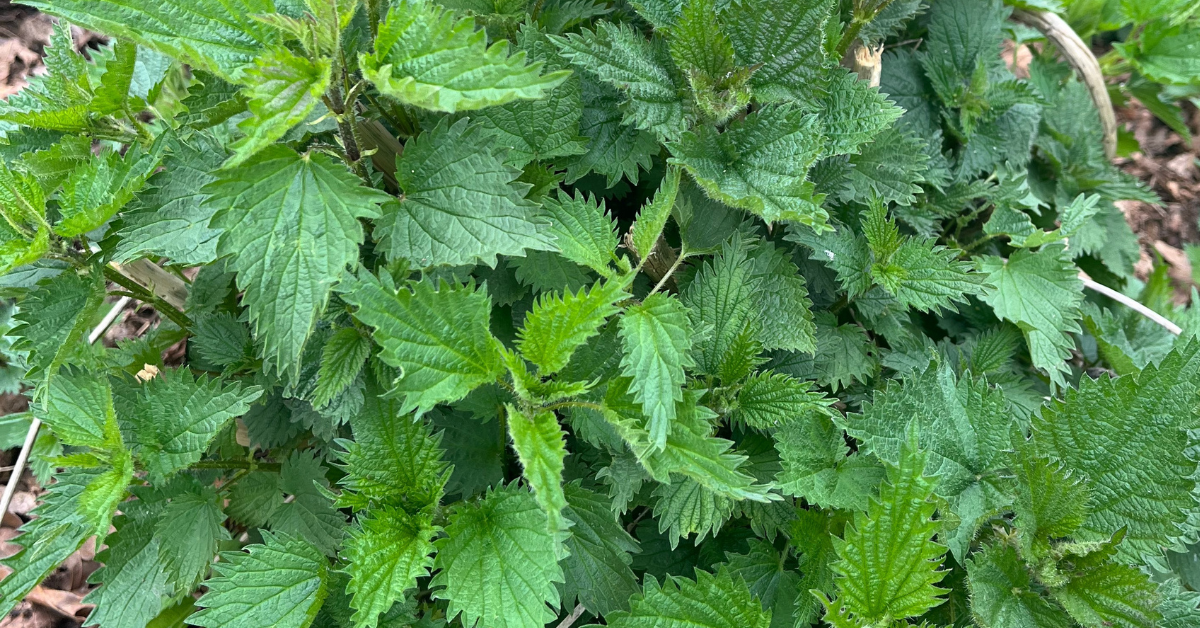
Would you like to learn how to use stinging nettle to create some herbal remedies? Stinging nettle is well known for it's sting, hence the name. If you ever brush up against this plant in the wild, you will know by the stinging feeling on your skin. It grows in temperate regions worldwide and is full of healthy vitamins and nutrients.
Key Actions
- Diuretic
- Tonic
- Astringent
- Prevents hemorrhaging
- Antiallergenic
- Reduces prostate enlargement
- Anti-inflammatory
Medicinal Uses
- Fever
- Arthritis
- Anemia
- Burns, Insect bites, wounds
- Allergies
- Cleansing
- Improve breast milk production
- Helps with heavy menstruation
You might find stinging nettle growing in the wild or you can cultivate it in your garden. Keep in mind that it will spread so plant it in a location where you are ok with it spreading. If it is in your garden, you may have so much of it that you are wondering how to use stinging nettle. If you don't have a garden or cannot find it locally you can purchase some online here.
Nettle can be prepared in many ways to receive it's benefits.
- The young spring greens can be cooked and eaten in soups or a sauté
- Can be used as a bandage or poultice.
- Dry the leaves for tee
- Use the dried leaves to make an infused oil
- Powder the dried leaves to make capsules
- Use fresh leaves to make a tincture (this post explains in detail how to make a tincture with any herb.)
Nettle tincture is popular for helping with seasonal allergies and skin conditions.
How to Make Nettle Tincture for Allergies
- Fill a glass mason jar with fresh nettles, sliced or crushed
- Pour over top, 100 proof vodka, filling the jar completely
- Let sit for 4-6 weeks, shaking daily
- Strain out the liquid through a fine mesh strainer (or herb press) and bottle with a tight fitting lid.
- Store in a dark cabinet for up to 5 years.
- Dosage: 1/2-1 tsp, twice daily
How to Use Stinging Nettle for Tea
- 1 tbsp. dried and crushed nettle leaves
- 1 cup boiling water
- Pour boiling water over the dried nettle leaves
- Allow to steep for 15-30 minutes to extract all the nutrients
- Strain, drink twice daily
A handy tool for making tea with loose herbs or tea is a French press, preferably one that does not have any plastic like this one.
Stinging Nettle Tea Benefits
Stinging nettle is a good source of some vitamins and minerals Making stinging nettle tea is an effective way to extract and benefit from the vitamins and minerals it contains. A 1/4 cup of dried nettle weighs about 5 grams.
In 5g of nettle, it contains:
- 25 mg calcium
- 17 mg potassium
- 25 mcg Vitamin K
- 100 IU Vitamin A
Stinging nettle can be used in larger quantities in soups to really take advantage of these vitamins and minerals.
Thank you for reading this post, don't forget to subscribe to stay in the loop. If you are looking for some of the healthy tools and resources mentioned in my articles, take a look at my healthy shopping guide.
Some of our links are affiliate links, which means if you click and buy, I earn a small commission. The price is the same for you, though. Thank you!
You might also like these posts…
Trending Posts on the Holistic Mama Blog

Holistic Mama Blog