
-
Fermented Dill Pickles
Category: Fermenting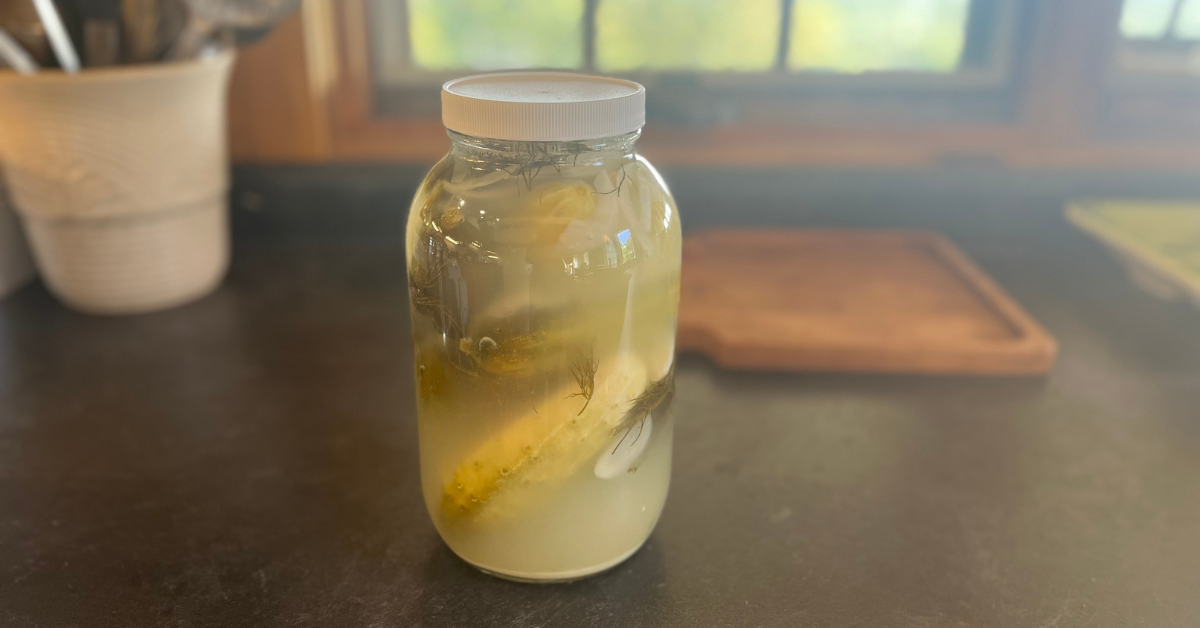
Fermented dill pickles should be considered a superfood. So much health is packed into a small package. Fermented foods have been a part of almost every culture in history for a good reason. The natural probiotics created in the fermentation process are necessary for a healthy gut and strong immune system.
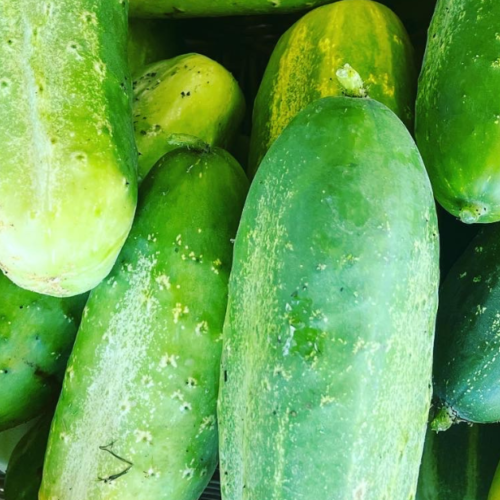
The fermentation process is the same for any vegetable (also try fermented garlic). Of course there are variations that offer different flavors. A classic sour dill pickle, the kind you would find in a Jewish deli or a farmers market, are made with only a few ingredients. A salt brine is the most important part of this recipe because it allows the fermentation to occur naturally. If you are new to the idea of fermenting I highly recommend you read, Wild Fermentation. It's a phenomenal resource for a beginner. In addition to cucumbers of course, the other two ingredients for these fermented dill pickles are garlic and dill.
Fermented Sour Dill Pickles
Equipment
- 1 Glass jar
Ingredients
- 1 handfull Fresh Dill
- 3 cloves Fresh garlic
- 1/2 sliced onion (optional)
- fresh cucumbers (enough to fill your jar)
- 3 tbsp sea salt
- 1 quart hot filtered water
- 1 green or black tea bag (this is optional but helps keep pickles crisp)
Instructions
- In your clean glass jar place dill and garlic on the bottom
- Fill the jar with as many fresh cucumbers as you can fit
- Use a glass measuring cup to mix together the salt and water to make a brine, stir until completely dissolved
- Pour the prepared brine over the cucumber in the jar.
- Put your tea bag on top and cover with a lid. An airlock lid is ideal but a plastic lid will do just fine.
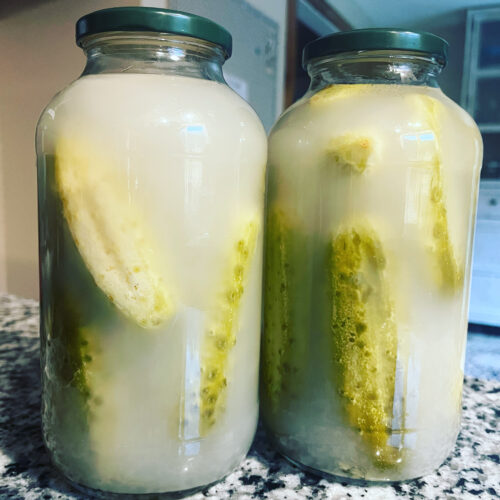
- Allow the jar to sit at room temperature for 3 days. Taste your pickles, if they have fermented to your liking, move them to the fridge.
Tips & Tricks
- If you are just getting started with fermenting, any glass jar and lid will do. However, you will need to open it everyday to let out some air.
- I highly recommend using a glass airlock jar or a Polish stone fermenting crock for larger batches.
- The rate at which your cucumbers ferment will depend on the temperature of your home. Warmer temperatures cause fermentation to happen faster.
Thank you for reading this post, don't forget to subscribe to stay in the loop. If you are looking for some of the healthy tools and resources mentioned in my articles, take a look at my healthy shopping guide.
Some of our links are affiliate links, which means if you click and buy, I earn a small commission. The price is the same for you, though. Thank you!
You might also like these posts…
-
Sweet Refrigerator Pickles
Category: Real Food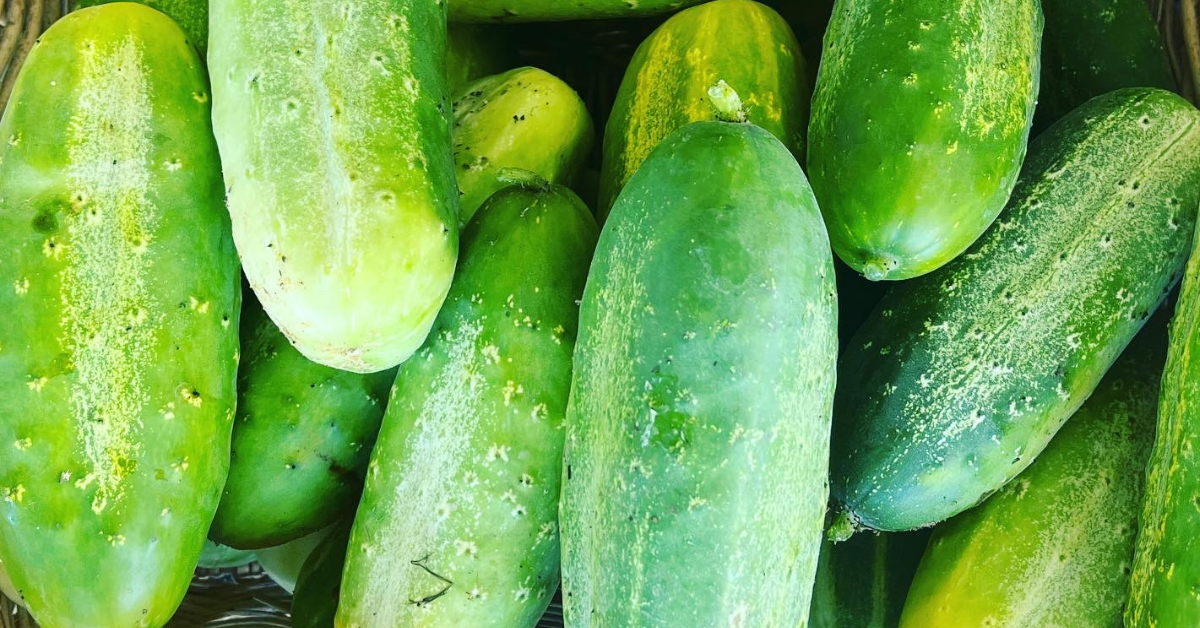
What to do with an abundance of cucumbers? Make sweet refrigerator pickles! There are a two ways to make pickles, either with vinegar or with a salt brine. Salt brine fermented pickles are equally delicious in a totally different way. Salt brine pickles are fermented and have a sour flavor. They offer the added health benefits of probiotics which make them a superfood in my opinion. Fermented pickles are made with the same process as this fermented garlic.
If fermenting isn't your thing or you are not ready to try it, this is a great starter pickle recipe. Sweet refrigerator pickles are also an easy sell with kids (because of the gentle sweetness of course). They are made with a vinegar and sugar brine and also offers health benefits from the fermented apple cider vinegar. It's the perfect way to use up lots of garden cucumbers in late summer.
Sweet Refrigerator Pickles
Ingredients
- 1/2 cup hot water
- 3/4 cup sugar
- 1 tbsp. salt
- 3/4 cup raw apple cider vinegar
- a handful of fresh dill sprigs
- 1-2 cloves of garlic chopped
- 1/2 onion chopped
- Cucumber slices enough to fill jar
Instructions
- In a glass measuring cup, mix together the hot water, sugar, and salt.
- Stir together the water and sugar until it's completely dissolved. Let this sugar water cool down while you chop the vegetables.
- After that, fill a one quart mason jar with the chopped vegetables until full to the top.
- Now it's time to add the vinegar to the cooled sugar water and stir it together.
- Pour the prepared brine over the vegetables in the mason jar and cover.
- Let this sit in the fridge at least overnight or for 2-3 days before serving.
These pickles will last quite a while in the fridge which also helps to preserve the cucumbers if you have too many. It can be served as a side dish as you would a cucumber salad and not just as a condiment.
Tips & Tricks
- Make a larger batch of the vinegar brine mixture ahead of time and keep in the fridge so it's ready to use quickly.
- Keep a good supply of quart size mason jars with plastic lids on hand for when you have the urge to make these!
Thank you for reading this post, don't forget to subscribe to stay in the loop. If you are looking for some of the healthy tools and resources mentioned in my articles, take a look at my healthy shopping guide.
Some of our links are affiliate links, which means if you click and buy, I earn a small commission. The price is the same for you, though. Thank you!
You might also like these posts…
-
Gluten-Free Chocolate Zucchini Muffins
Category: Gluten Free
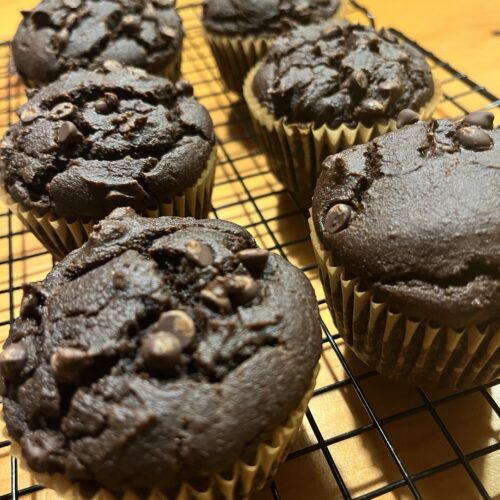
Gluten-free Chocolate Zucchini Muffins
Ingredients
- 2 cups shredded zucchini or summer squash
- 4 eggs
- ½ cup maple syrup
- ¼ cup melted coconut oil
- 1 tsp vanilla extract
- 1¾ cups almond flour
- ½ cup cocoa powder
- ¾ cup gluten-free flour mix
- 2½ tsp baking powder
- ¼ tsp sea salt
- 1½ cups semi-sweet chocolate chips
Instructions
- Preheat your oven to 350F
- Shred squash in a food processor and wrap in a clean kitchen towel. Wring out the excess liquid and set the zucchini aside.
- Add the shredded zucchini, eggs, maple syrup, vanilla and coconut oil to a high powered blender and process 30 seconds
- Add all dry ingredients except the chocolate chips to the blender and process until fully combined.
- Remove container from the base, sprinkle 1 1/4 cups chocolate chips over the batter, and mix them in with a long-handled spoon or silicone spatula.
- Pour the batter into a muffin tin and sprinkle the top with the remaining 1/4 cup chocolate chips.
- Bake for 22-25 minutes. Allow muffins to cool before serving.
Thank you for reading this post, don't forget to subscribe to stay in the loop. If you are looking for some of the healthy tools and resources mentioned in my articles, take a look at my healthy shopping guide.
Some of our links are affiliate links, which means if you click and buy, I earn a small commission. The price is the same for you, though. Thank you!
You might also like these posts…
Trending Posts on the Holistic Mama Blog

Holistic Mama Blog